 Welcome to Part 5 of my Horizon View and Windows 10 Image Building Series. So far in this series we’ve built a virtual machine and customized it for use with Horizon View and Windows 10. We installed Windows 10 (1803) Enterprise, installed VMware Tools and ran Windows Updates. We applied many customizations to Windows settings and options. We’ve staged the Agents, Scripts and drivers. Lastly we downloaded and staged the VMware OS Optimization Tool and ran it using my custom template.
In this article we look at applications, software and drivers that may need to be installed onto the image. We’ll install Office 2016, manage AppX apps, install anti-virus/anti-malware, printer drivers and any other drivers or software. I’ll step through each of these and detail what I typically see. I’ll be using a numbered list so you can easily follow this guide while adding detail around specific sections where necessary.
Apps & Drivers
At this point in the process we have a heavily optimized image that’s currently a completely clean and updated Windows 10. The snapshots allow you to take a step back and make changes if something goes wrong. So that we don’t get too many snapshots and so we can keep our clean Windows image separate I typically make a clone of the image at this time.
- Clone the Image
- Shutdown the image VM before cloning.
- If you need images with different agents/applications/drivers and need multiple pools to accommodate that you can now clone this image for each pool. Cloning the image will ensure you have a known good optimized copy of base Windows 10 ready to go. The base image will be the image you use to create other images.
- If you don’t need multiple pools or different images, which may be the case if you’re using App Volumes and UEM then you can continue building this image with agents and drivers if you choose. I would still recommend cloning the image to a new copy so that you have a known good optimized copy of base Windows 10 and we limit the number of snapshots for any one VM.

- Pool Image – I usually clone to what I call the Pool Image. This image will be the one we use to create a Horizon View Pool with. It will have the agents and any other software we need installed on it.
- Office 2016 – I tend to see a lot of environments where everyone using the VDI desktops needs Office. In those cases I install Office on the base image. There are several types of licensing and options around Office365 that can change the way Office is installed and updated. For this series I will only tackle the Volume Licensed version of Office 2016 which we will install using the ISO from the Volume Licensing Service Center.
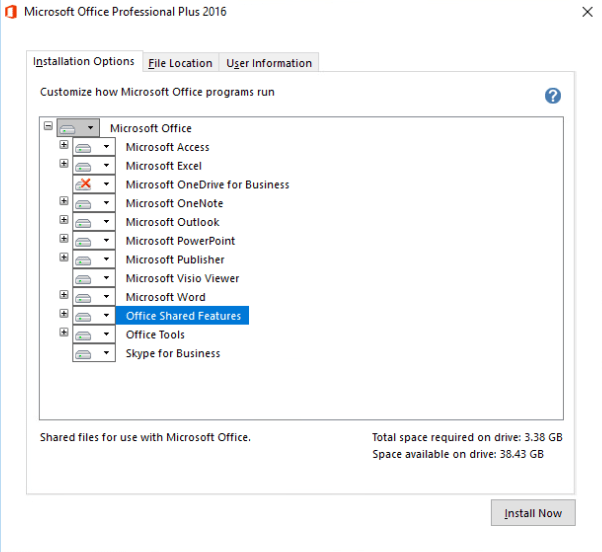
- Attach the Office ISO to the VM and run Office 2016 Setup.
- Select the options necessary for your environment and click Install Now.

- You don’t have to reboot but I usually do after the install completes.
- Detach the Office ISO from the VM.
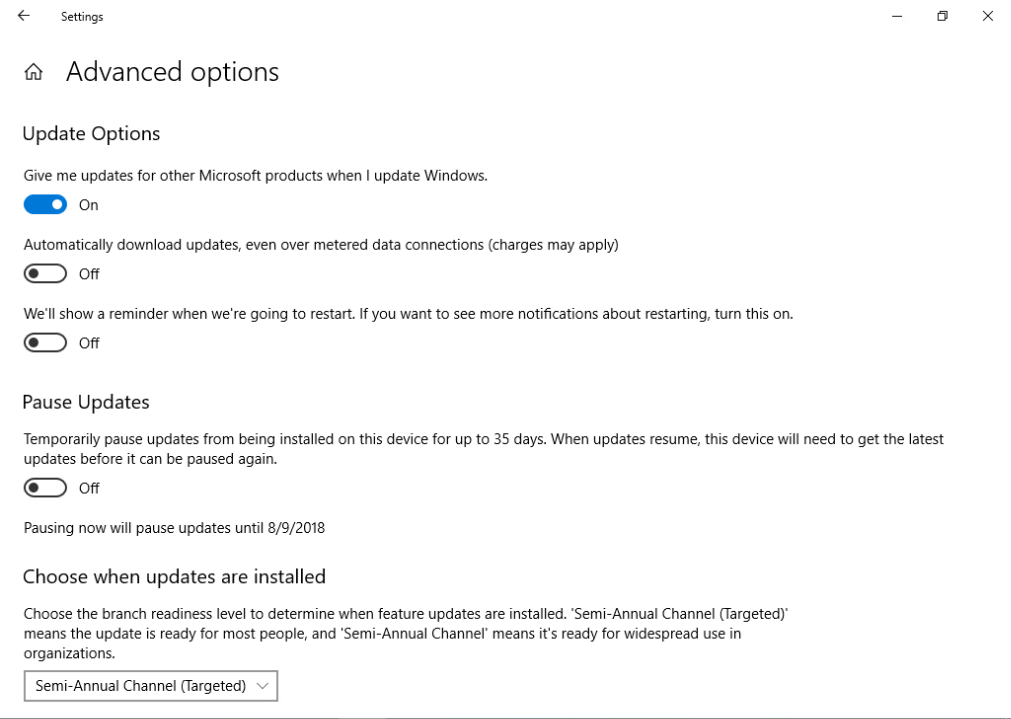
- Click the Start Menu. Then click the Settings gear. Click Update & Security then click Advanced Options toward the bottom.
- Set Give me updates for other Microsoft Products when I update Windows to On. If you don’t do this Windows Update will not update Office 2016.

- Hit the back Arrow at the top left and click Check for updates and it should install all the necessary Office 2016 updates.

- Restart Windows when the updates are finished installing.
- AppX Apps
- We skipped doing anything with the AppX apps prior to now because it can impact what you are able to use this image for. Removing AppX Packages and Provisioning can also break Sysprep as detailed in my first article on the subject.
- It was so popular I even created a second article as well with updated scripts that I highly recommend you read now before you proceed. It should familiarize you with how to move forward using my scripts.
- Pick whichever script you’re more comfortable with from my article and follow the instructions to run it.
- Remember a few articles ago when I said don’t delete the “User” account that you’re forced to create when you install a fresh Windows 10? If at any point you did delete it you will need to start this entire process over because your AppX manifest is possibly irreparably broken. This could cause issues with Sysprep, with the Start Menu and any AppX apps you have installed. If you were paying attention and the account is still there then you need to run the script twice. Once on the temporary “User” account and once on the Administrator account. At the end we will delete the “User” account.
- Login to the “User” temporary account you created when you installed Windows.
- Open Powershell or Powershell ISE and make sure to Run As Administrator. I like Powershell ISE so my examples will be in that.
- Click the Start Menu and type ISE.
- Right Click Windows Powershell ISE and select Run as administrator.

- Select File then Open and browse to where you saved whichever script you chose from my AppX article.
- Select the script and click Open.

- The script should open in the Script pane.
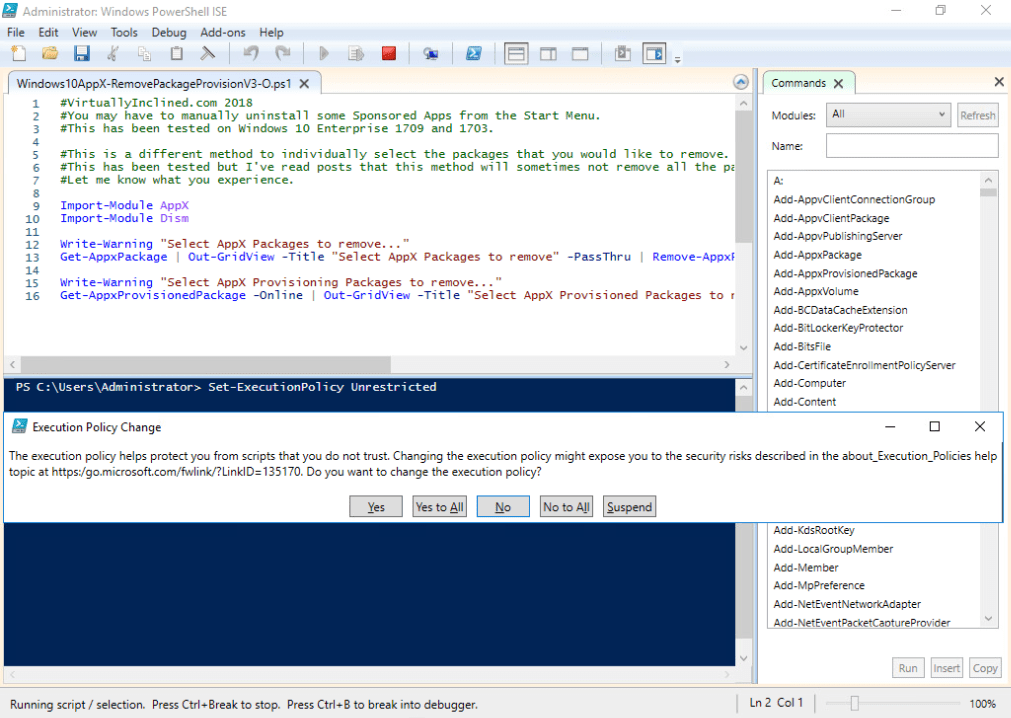
- Now change the Execution Policy to Unrestricted. In the Command pane type and run the following.
Set-ExecutionPolicy Unrestricted
- Click Yes on the Execution Policy Change dialog.

- Now click the green arrow at the top to run the script that’s in focus on the Script pane.
- Dependent upon which script you’re running will determine what happens next. If you run the Long or Shorter scripts they take care of everything. If you picked the Out-Gridview script then you need to know what you’re doing and will have to manually select the AppX packages and Provisioning you’re going to remove. Don’t do this lightly or you will break Windows.
- Once the process is complete Restart Windows.
- Now login as the local Administrator account and do the same exact steps again.
- Click the Start Menu and type ISE.
- Right click Windows Powershell ISE and select Run as administrator.
- Select File then click Open and browse to where you saved the script you chose.
- Select the script and click Open.
- The script should open in the Script pane.
- Run the script on the local Administrator account and make sure to select the same AppX apps. If you edited the scripts or used the Out-Gridview version you must make sure you remove the same AppX apps from both the temporary “User” account and the Administrator account. NOTE: The Administrator account may include additional apps not seen on the “User” account and it’s ok to remove them if needed. These tend to be Sponsored Apps.
- When the script is finished in the Command Pane type and run the following.
Set-Execution Policy Restricted
- Restart Windows.
- Login as the local Administrator account
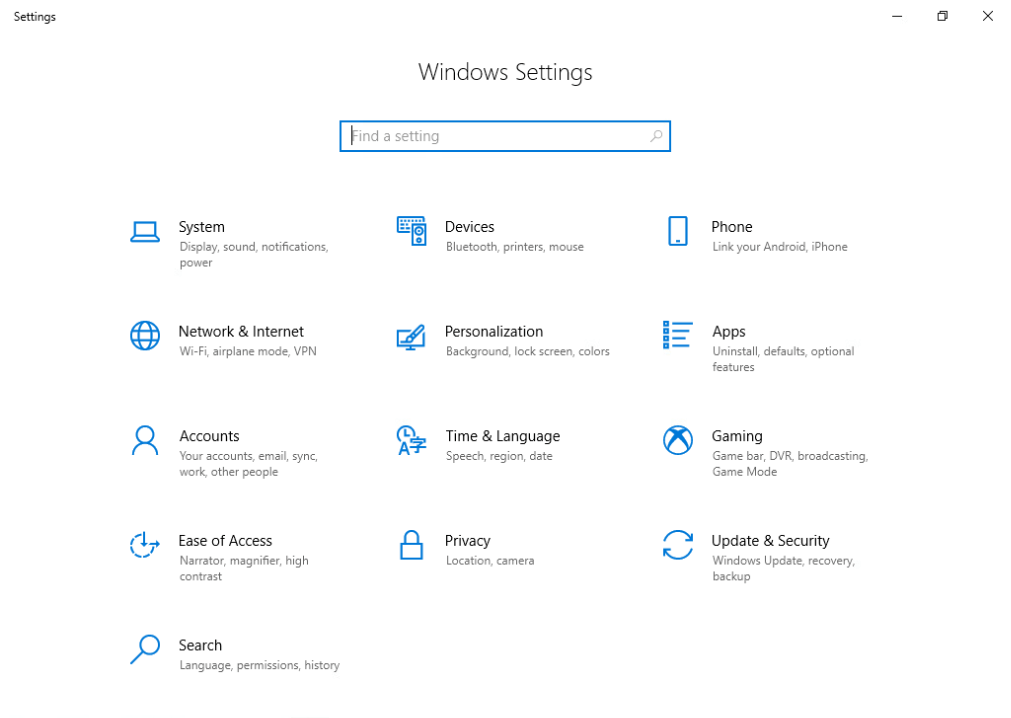
- Click the Start Button and select the Settings gear on the left.
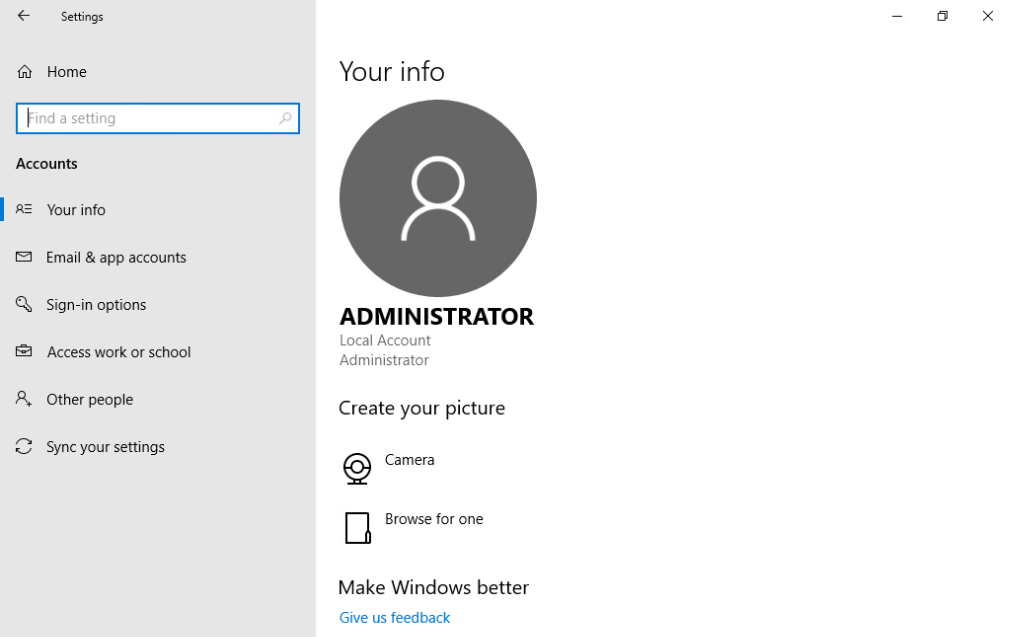
- Select Accounts.

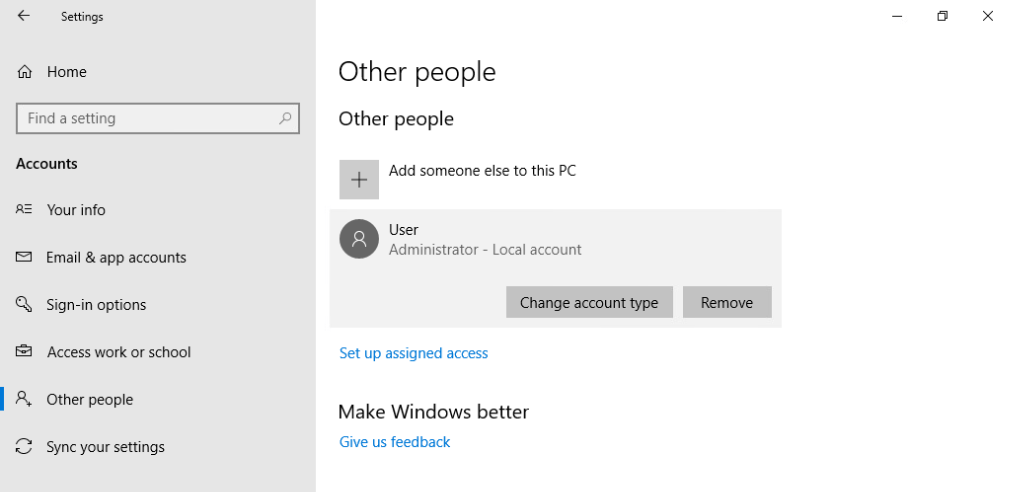
- Select Other People on the left.

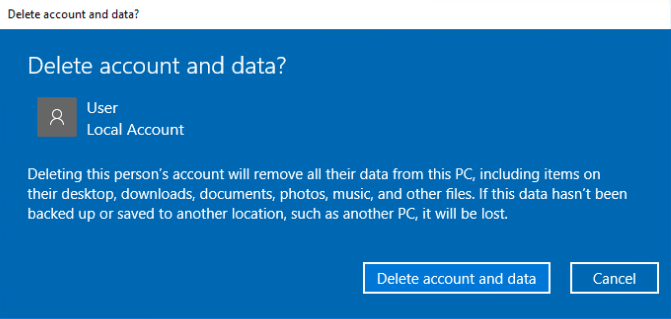
- Select the temporary “User” account you were forced to create when you installed Windows and click Remove.

- Click Delete account and data.

- Run the VDIDesktopShutdownScript.bat from an Administrator elevated Command Prompt.
- Take the first snapshot of the Pool Image VM in case something goes wrong later and you can revert to a known good state. Make sure to put a descriptive title and description on it.
- Anti-virus, printer & other drivers
- Anti-virus & Anti-malware – Anti-virus & anti-malware software that is agent based must be installed on the base image. It won’t work correctly on an App Volumes AppStack and is not supported. If you’re using an AV/AM product using guest introspection you still need to set the exclusions so keep reading this section for more information.
- You will have to investigate how your AV/AM product works with VDI desktops. There is likely a tool or a series of things you may need to do to the image to make sure it works properly with your AV/AM software. Don’t skip this step. It’s important.
- For both types of products you must also push down a fairly extensive exclusion list for both product types that ensures they won’t interfere with Horizon View, App Volumes and UEM. Below are two links that detail what exclusions to make for all the products involved. You’ll have to do some work to figure how to add the exclusions to whatever Anti-virus/Anti-Malware product you’re using.
- Printer drivers – Printer drivers should be installed on the image so they don’t get pushed down dynamically as a user connects to mapped printers. The procedure can be surprisingly simple. Install all print drivers directly or through a print server printer share. Then remove the connected printers. This will leave the drivers intact and when they get mapped the printers should just connect immediately without having to pull down the drivers.
- Other drivers – Other drivers can include any USB devices or drivers that will connect through the VDI thin client endpoint and need to be used by the VDI desktop. It could also include Serial devices or scanners. I’ve seen USB Keyboards, biometric devices, USB and Serial based printers and scanners. I’ve even seen microscopes and other scientific equipment that connects via USB to VDI desktops that requires drivers as well. Make sure you take into account any devices that you may need to use here that requires drivers or software.
- Anti-virus & Anti-malware – Anti-virus & anti-malware software that is agent based must be installed on the base image. It won’t work correctly on an App Volumes AppStack and is not supported. If you’re using an AV/AM product using guest introspection you still need to set the exclusions so keep reading this section for more information.
- Individually licensed software – Some software that may have an individual or single use license may need to be installed locally on the image along with the license itself. Anything that’s not volume licensed could fall under this and may require additional configuration. Make sure you’re aware of how your software is licensed and where it’s obtaining that license from as it may impact your image or it may require that you build persistent desktops to accommodate that type of licensing. Licensing that ties to a hostname, IP address or Windows SID will definitely have issues with non-persistent VDI and may take special concessions. I’ve also seen software with different types of licensing fail to work properly on non-persistent desktops or with App Volumes.
- Other Applications – This is the everything else bucket. Any other software your users need to do business is included. If you’re not using App Volumes and UEM you can install additional applications on the image here as needed. If you are using App Volumes and UEM you should be able to consolidate most of your applications onto AppStacks and leverage UEM for the persistent user experience. This means you’re able to keep a pretty clean image.
- Once you have all of the above software, drivers and other components squared away you should run the VDIDesktopShutdownScript.bat from an Administrator elevated Command Prompt again.
- Take the second snapshot of the Pool Image VM in case something goes wrong later and you can revert to a known good state. Make sure to put a descriptive title and description on it.


Apps & Drivers Complete
We’ve successfully installed the necessary Apps & Drivers on the image. These steps included installing Office 2016, cleaning up AppX apps and the temporary “User” account, installing Anti-virus/Anti-Malware software and printer drivers. We also looked at the potential for other drivers, software that has special licensing and determined whether you’re going to move forward and use App Volumes and UEM. If so then all your other applications users work on will be moved into App Volumes AppStacks and their configurations managed by UEM. There’s a whole methodology around that which we’ll discuss in a later article in this series.
In the next article in this series we’re going to tackle installing all the necessary Agents and install the NVIDIA GRID drivers. We’ll also be completing the image. Thanks for reading and stay tuned for the continuation of this series.