Welcome to Part 2 of my Horizon View and Windows 10 Image Building Series. In the first article in this series I walked you through how to build and configure a virtual machine that is streamlined and customized for VDI with Horizon View and Windows 10.
This article will focus on installing Windows 10. This particular topic is likely to be pretty redundant as I’m sure there’s a ton of content out there describing this process. My take on it will detail how Windows 10 (1803) changes that process a bit and how to configure Windows as it fits into building an image. We’ll be installing Windows 10 Enterprise Edition since it is the recommended edition for VDI with Horizon View. I’ll be using a numbered list so you can easily follow this guide while adding detail around specific sections where necessary. Let’s get started!
Thanks again!
I want to first give a huge thanks to Lieven D’Hoore over at https://www.ituda.com/. I’ve been using his Image Creation guides for years. Starting with his Windows 7 guide and then moving over to his Windows 10 Golden Image Creation article. He was gracious enough to allow me to use portions of his guides in my content here. I’ll hopefully be able to do it justice and add some of my own flavor to it. That guy lives and breathes EUC and technology, Go check out his site!
If you read the first article you’ll notice the above was copied directly from there. I like giving credit where it’s deserved and it’s definitely deserved.
Windows 10 Version 1803 Install
You might be saying right now that “I don’t need help installing Windows 10, it’s easy!” Well you’re right. It’s pretty simple, but Windows 10 (1803) adds a couple of things you have to go through to get it going. The other side of this is that to successfully build an image there’s a few very important steps to follow here so that we don’t cause issues with AppX applications. This article is basically just a primer for you to follow to keep things standardized. On to the fun stuff!
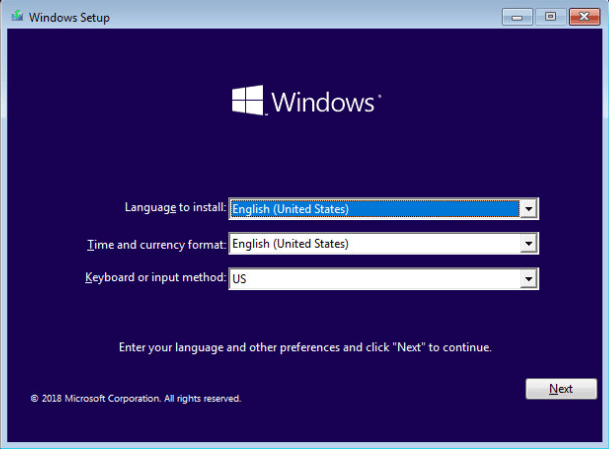
We finished up the last article with some BIOS changes and then saving those changes causes a reboot. If you followed that article you should be at the Windows Setup screen for the Windows 10 (1803) Installer. If you aren’t here then make sure you attach the ISO to the VM and power it on to get here.
- If necessary, select your Language to install, Time and currency format and Keyboard or input method then click Next to continue.

- Click Install Now

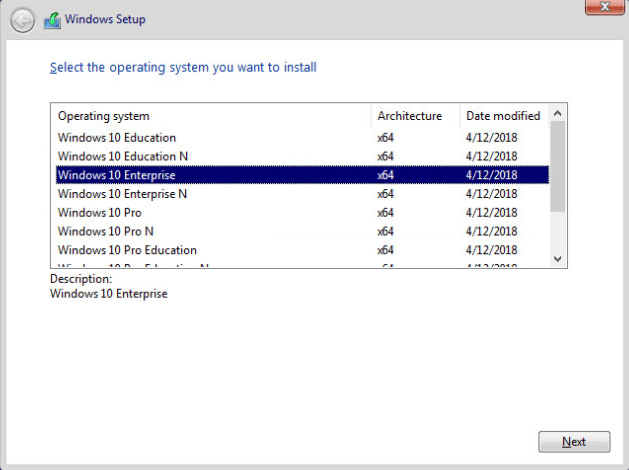
- Select Windows 10 Enterprise and click Next. There are potentially other supported editions but it depends on the version of Horizon View agent that you’re using. Of course VMware has a KB detailing compatibility. Windows 10 Enterprise Edition is the edition I recommend for VDI desktops with Horizon View.

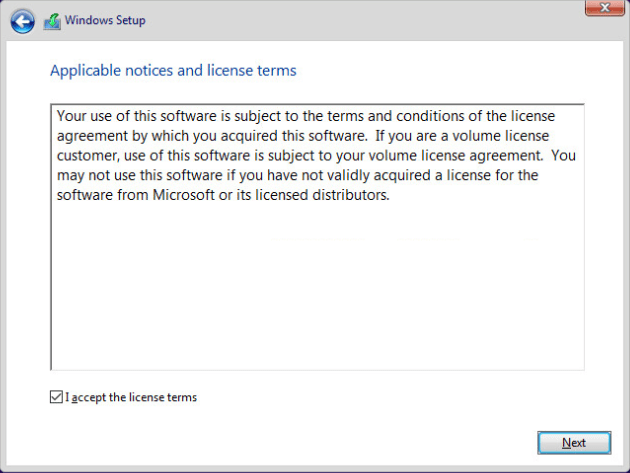
- Go read the Windows 10 License Terms. I’ll wait… All done? Ok now check the I accept the license terms box and click Next.

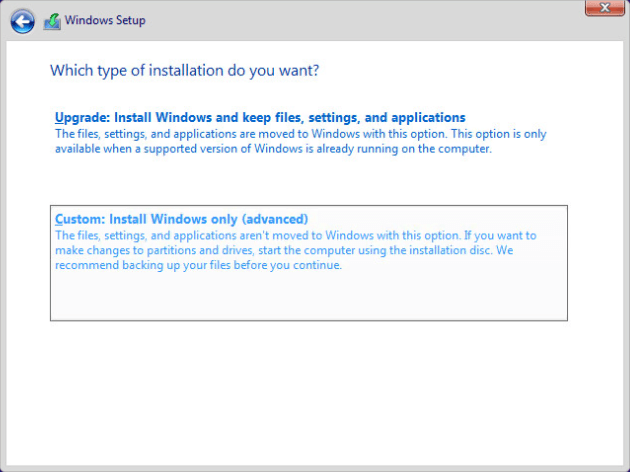
- We’re doing a fresh install so select Custom: Install Windows only (advanced).

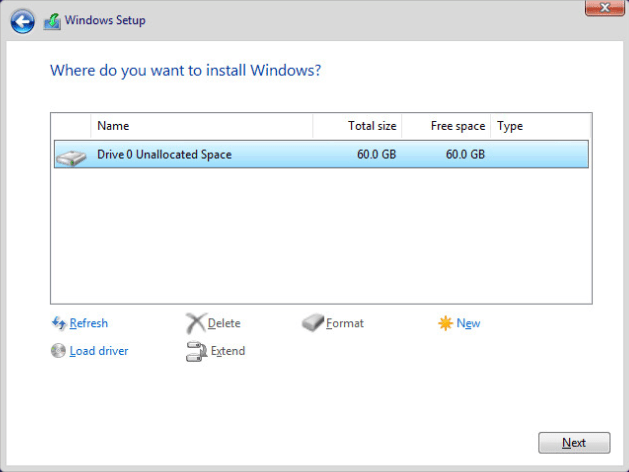
- We should only have one drive showing. Select Drive 0 Unallocated Space and click Next

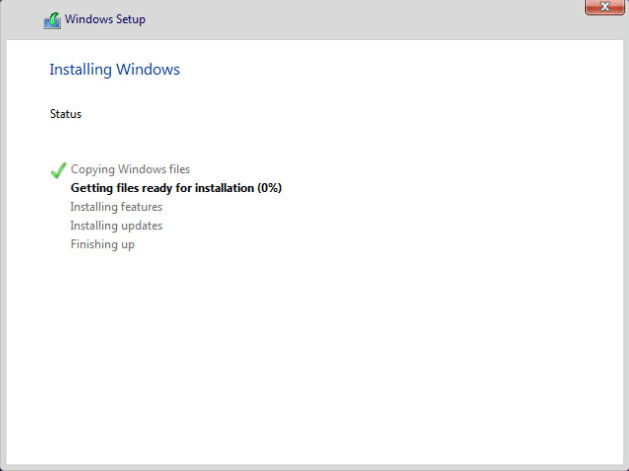
- Windows Setup will install Windows 10. When prompted click Restart Now or do nothing and it will reboot on it’s own.

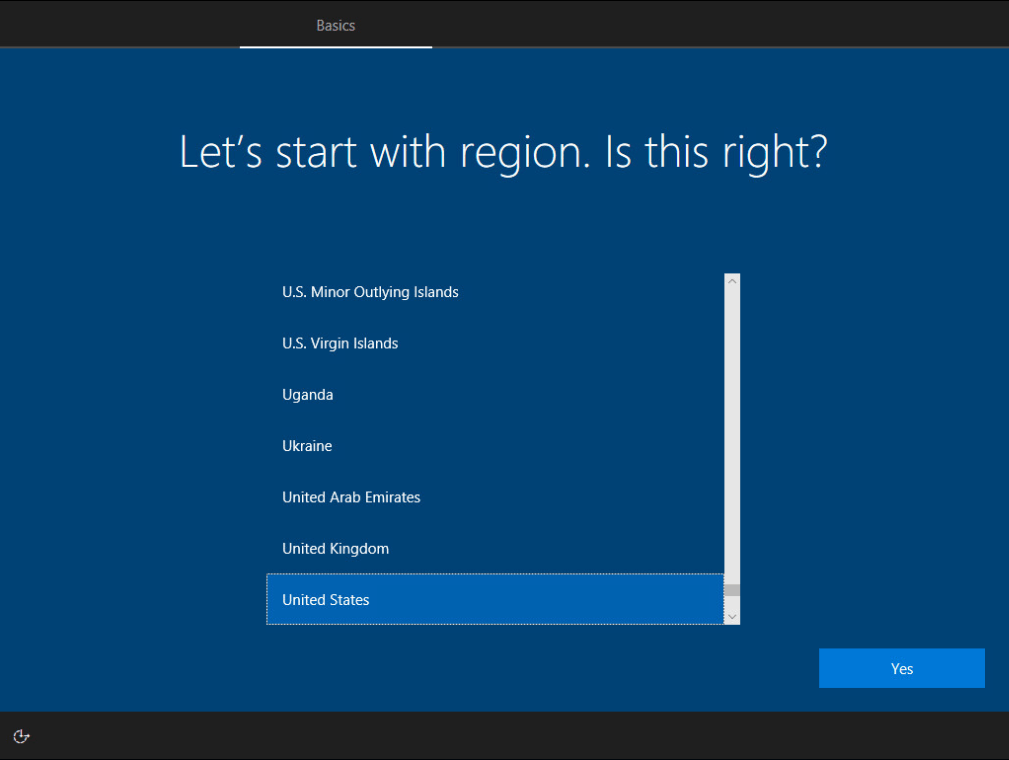
- Select the correct region and click Yes. Not sure why it doesn’t say Country or even location but whatever.

- Select the keyboard layout you want to use. In my case it’s US then click Yes.

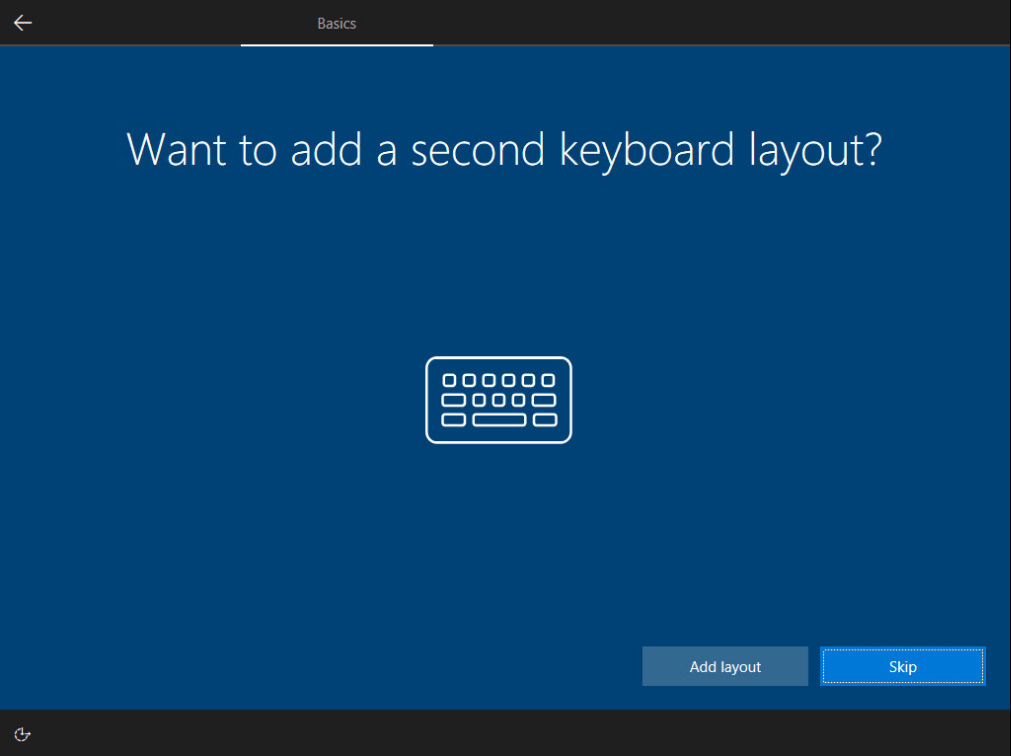
- I’m surprised that enough people use multiple keyboard layouts that Microsoft thought it necessary to add this to the Windows Setup process. Click Skip to continue unless you’re one of those people.

- Click Skip for now when it says Let’s connect you to a network. Remember we haven’t installed the VMware Tools yet so the VMXNET 3 network interface isn’t going to work yet.

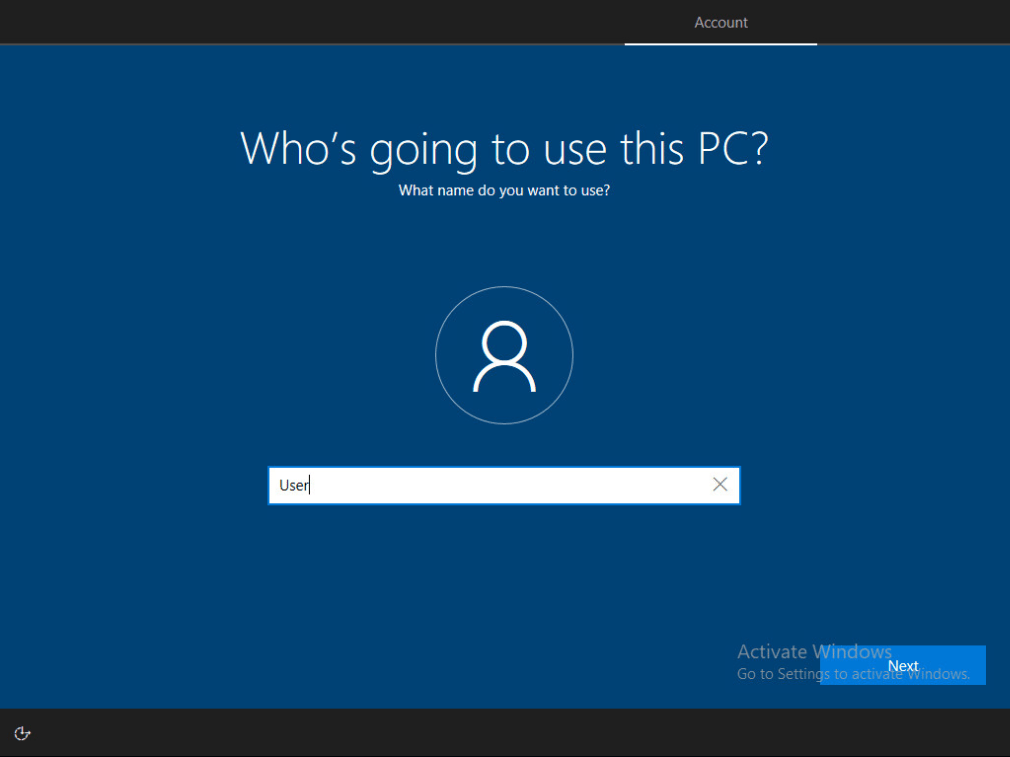
- Who’s going to use this PC? That’s a good question. Since Administrator is disabled by default you have to create a temporary user account. I usually create an account named Temp or User and click Next. We will delete this account later in the process in a later article.

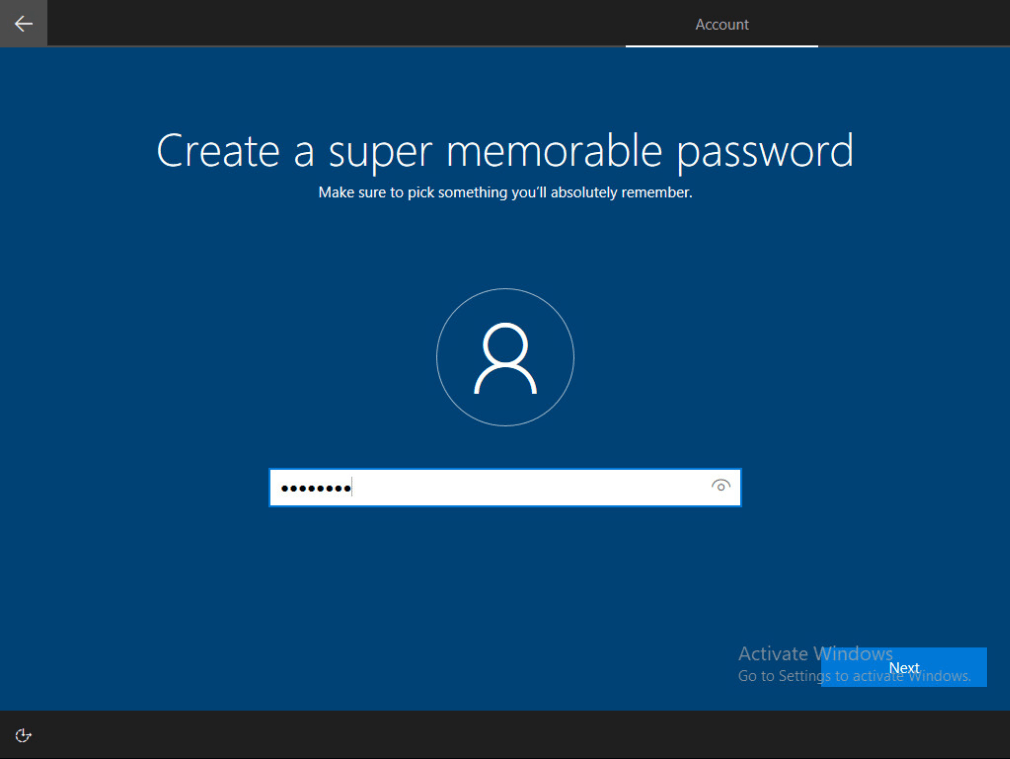
- Create a super memorable password. I guess just creating a memorable password wasn’t enough. Type in your password for the temporary account and click Next.

- Confirm your Password by retyping your super memorable password and click Next.

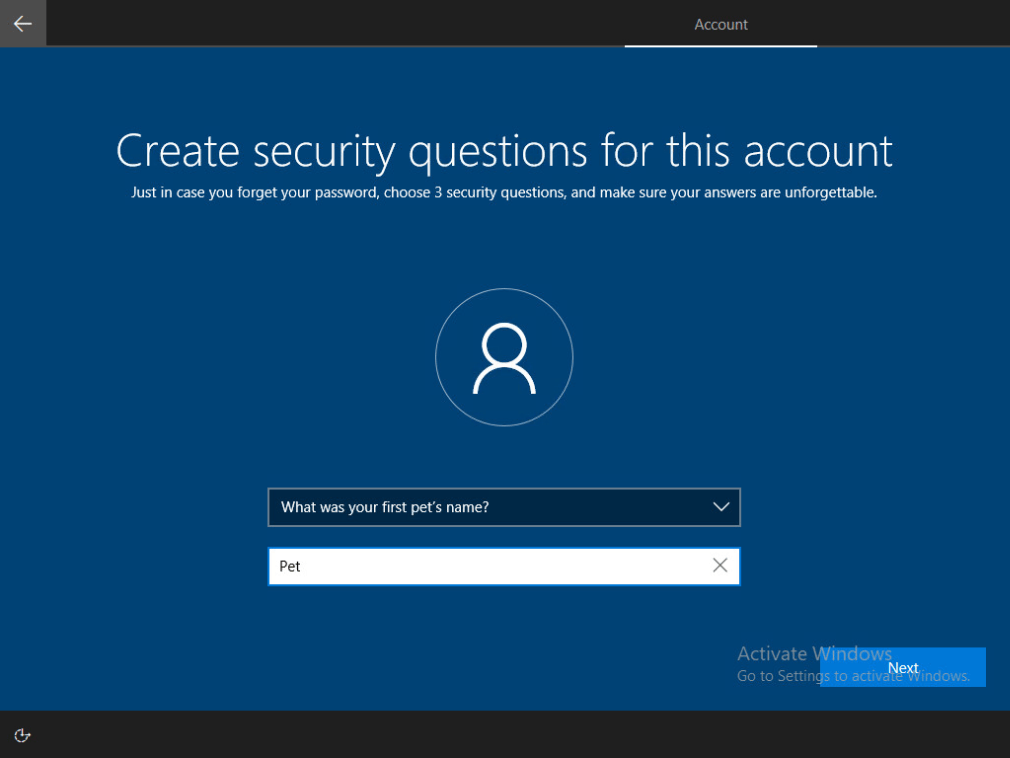
- Create 3 security questions and click Next after each. I don’t understand why we have to do this on Enterprise edition at all.

- Click No when it asks if you want to Make Cortana your personal assistant?

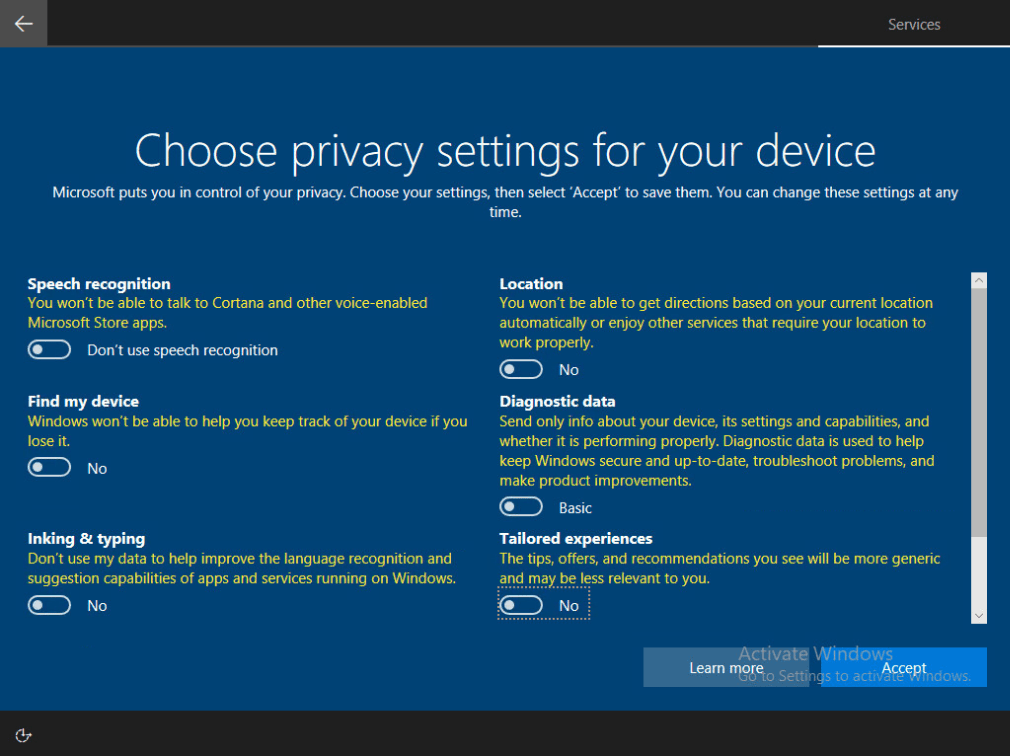
- Choose privacy settings for your device. Click No on everything and in the case of Speech Recognition and Diagnostic Data make sure the radio buttons are to the left side and click Accept.

- Windows is now setting up your account profile. When that is complete it will automatically login to the desktop as seen below.


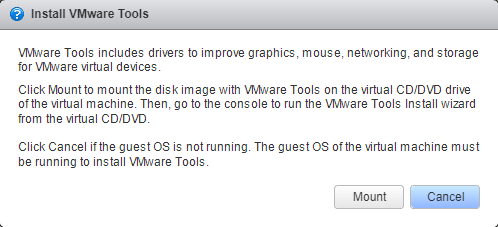
- From the vSphere Web Client we need to Install VMware Tools by mounting the installer. Click Mount and then go back to the console of the VM.

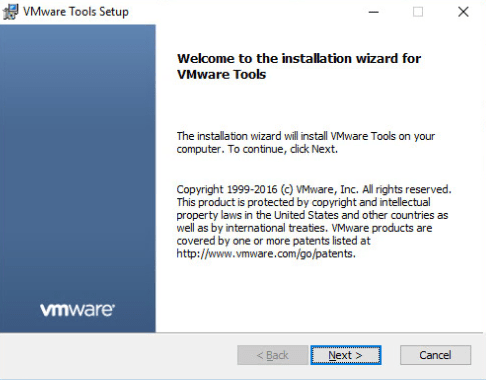
- Run the 64-bit tools install from the CD/DVD drive from the Windows desktop.
- Click Next

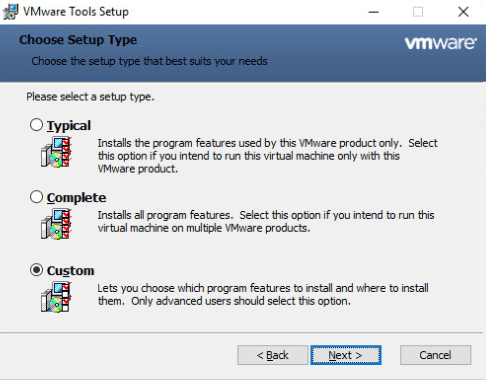
- On Choose Setup Type select Custom and click Next.

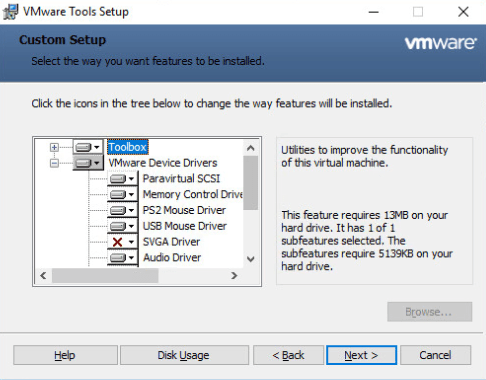
- Deselect the SVGA Driver. This may not even be an issue any more in current versions but it’s ingrained in my head to never install the SVGA driver because it used to cause driver version conflicts with the Horizon View agent and you’d get a black screen when you connected to the desktop. Of note, updating VMware Tools versions can also cause issues if you have the Horizon View agent installed already. I’ll get into that more later.
- If you’re using an anti-virus product that uses Guest Introspection you will need to install the NSX Network Introspection Driver by checking the NSX File Introspection Driver and NSX Network Introspection Driver.
- Click Next after you’ve made the necessary changes.

- Almost done! Click Install to install the VMware Tools.


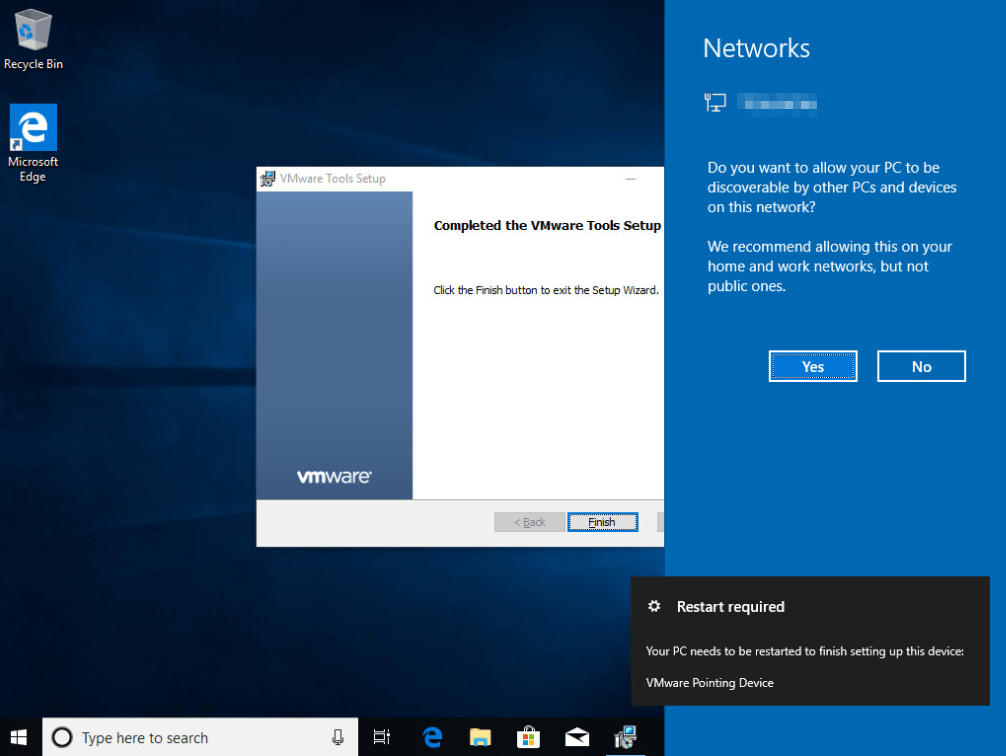
- Click Finish on the VMware Tool Setup. Now that we have a network connection Windows asks if you want to allow your PC to be discoverable on the network. I usually hit No there but you can also do nothing and change it later.

- Click Yes to restart the VM and complete the VMware Tools install.

- Hit a key on the keyboard or CTRL-ALT-DEL to login using the temporary account we created in the earlier steps.


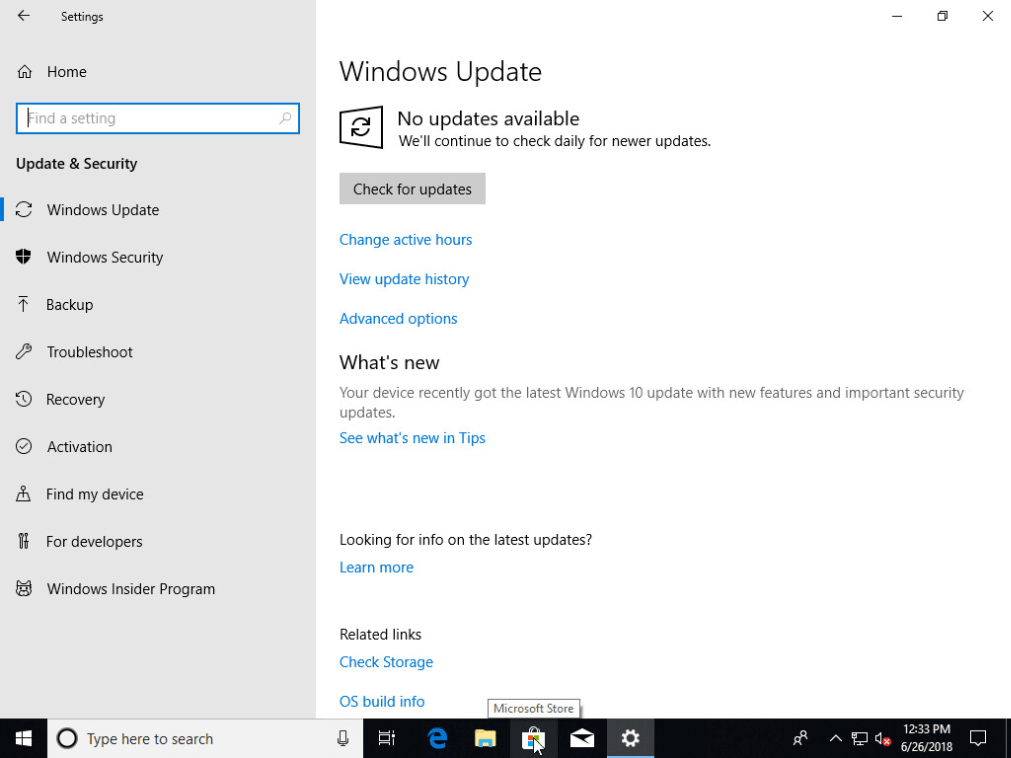
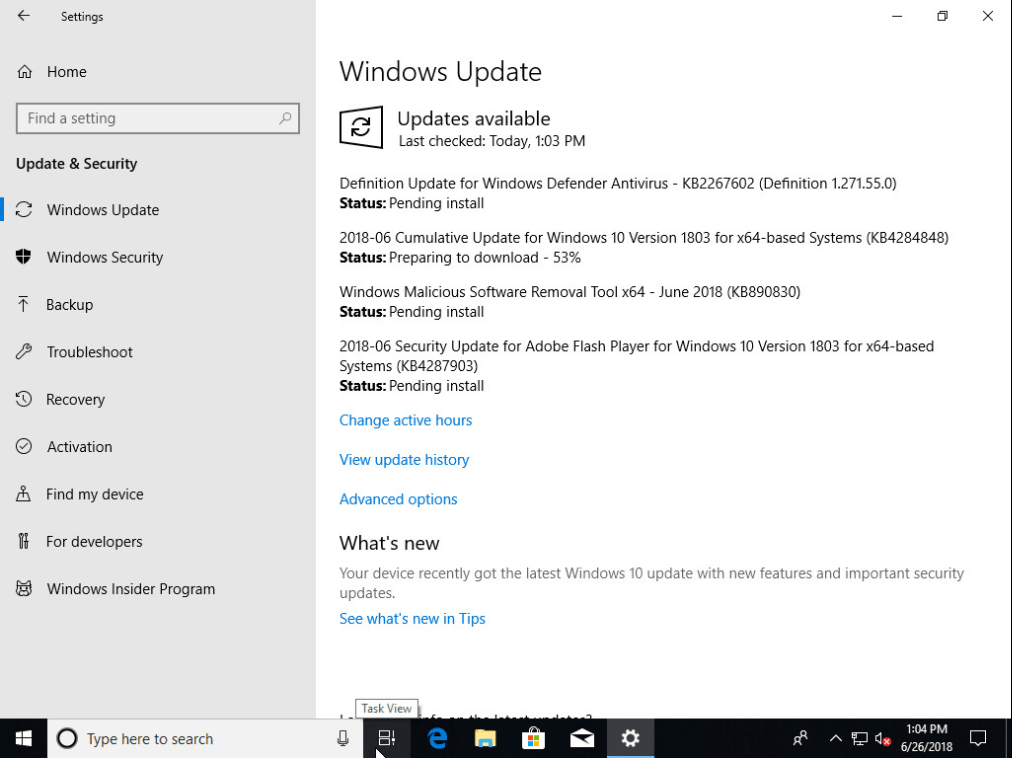
- Click the Start Menu and then the gear icon on the right to open Settings. Click Update & Security then click Check for updates.

- Install Windows Updates and Restart when finished

- At this point I highly recommend you Shutdown the VM and take a snapshot from the vSphere Web Client. We’ve put a little work in here and if it gets broken later you don’t want to have to start over completely. A quick snapshot ensures that won’t happen.


Windows 10 Install Complete
You’ve successfully installed Windows 10 (1803) Enterprise edition to your newly created and customized VM. The VMware Tools are installed and it has the latest Windows Updates applied. Next up we will customize Windows 10 to get all the settings where we need them to be. Thanks for reading and stay tuned for the continuation of this series.
Firstly, thank you for the article. I know this was written in 2018 but found it interesting that your recommending the removal of the VMware Tools SVGA Driver when a few years on its a recommendation to have the Video Display driver set to the SVGA driver, do you still find issues with the SVGA driver and if not, would you update the article accordingly?
Thanks for reading and commenting. I try not to go back and rework articles but rather I’ll create a new one. If it makes sense I might make an exception though. The reason in this case I recommend removing the SVGA driver is because later in this series there’s an article that references installing NVIDIA GRID drivers. That’s why it’s removed and why in the context of this series it’s recommended. Thanks for keeping me honest though!