- VMware vSphere 6.5 Series (Part 1) – VMware Host Client – Introduction
- VMware vSphere 6.5 Series (Part 2) – VMware Host Client – Configuration
- VMware vSphere 6.5 Series (Part 3) – VCSA PSC Install
- VMware vSphere 6.5 Series (Part 4) – VCSA PSC Configuration
- VMware vSphere 6.5 Series (Part 5) – VCSA vCenter Install
- VMware vSphere 6.5 Series (Part 6) – VCSA vCenter Configuration

This is my first attempt at a series and I decided to make it about vSphere 6.5. I’ll be covering as many new components and features of vSphere 6.5 as possible here so sit back and enjoy!
VCSA PSC Configuration
In the last article we went through deploying the VCSA Platform Services Controller through the installer. We deployed the VCSA appliance on Stage 1 and then configured the basic network settings for it on Stage 2. We will continue the process of fully deploying a VCSA PSC appliance here which includes joining it to the Active Directory domain, setting the time zone, checking for updates on the appliance, adding an identity source and setting user/group permissions.
We’ll start where we ended in the deployment. The Installer left us with a Complete status and a couple links to click on. We’re going to go straight to the Appliance Getting Started Page link on the Installer. If you’re starting this outside of the Installer we can just enter the FQDN of the Platform Services Controller using HTTPS into your browser of choice.
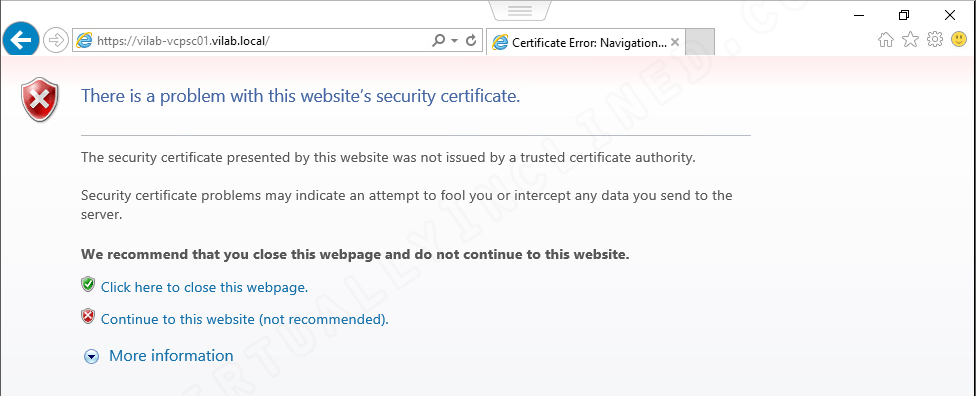
Since we’re using the self-signed certificates still, every browser is going to show a certificate warning because it can’t verify the chain. That’s to be expected and we just click Continue to this website (not recommended). They make this seem rather dangerous but in this case it isn’t.
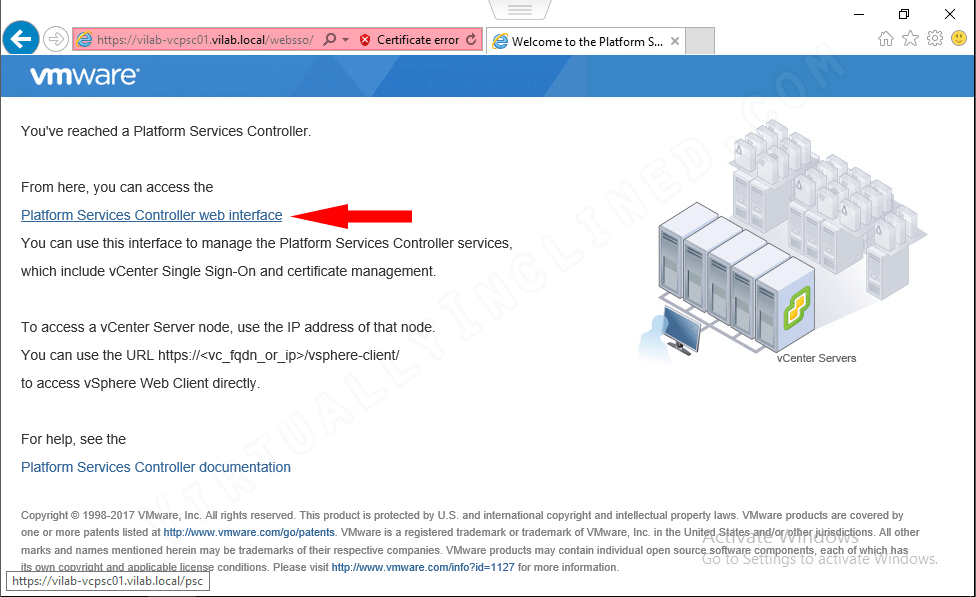
After clicking through the ominous warning we see the VCSA PSC Appliance Getting Started page. It describes how to access vCenter but we haven’t deployed that part yet. It’s also got a link to manage the appliance on the Platform Services Controller web interface that we need to click on.
Platform Services Controller Web Interface
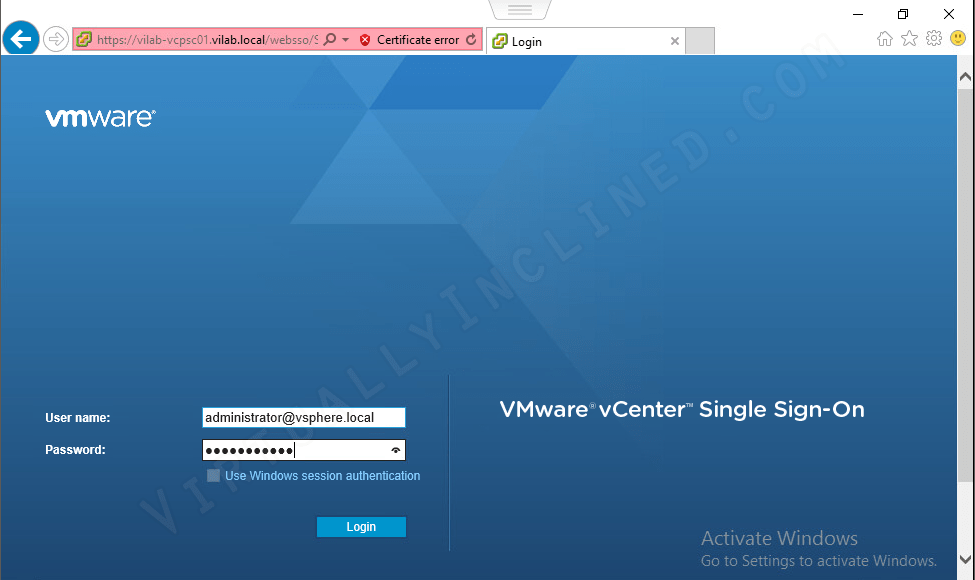
We’re presented with the VMware vCenter Single Sign-On page. The only credentials that will work at this point are the administrator@vsphere.local that we set in the previous article so we enter them and click Login.
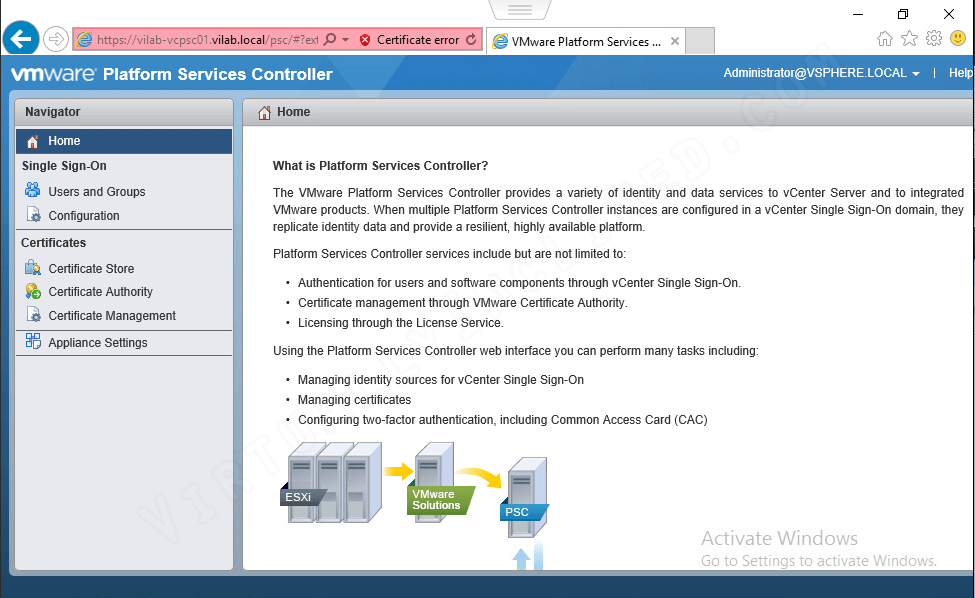
Once we get logged in the Home page gives us some details about what a Platform Services Controller is and does. This of course is sort of redundant since you should really already know what a PSC does at this point, but I digress. There are lots of things we could do here including adjust user/group permissions and manage certificates. For this series I won’t be covering anything about the certificate management so we’ll skip that for now. I will be going over setting the identity source and user/group permissions but before we can do that we must join the appliance to the Active Directory Domain. In the Navigator section on the left we need to click Appliance Settings.
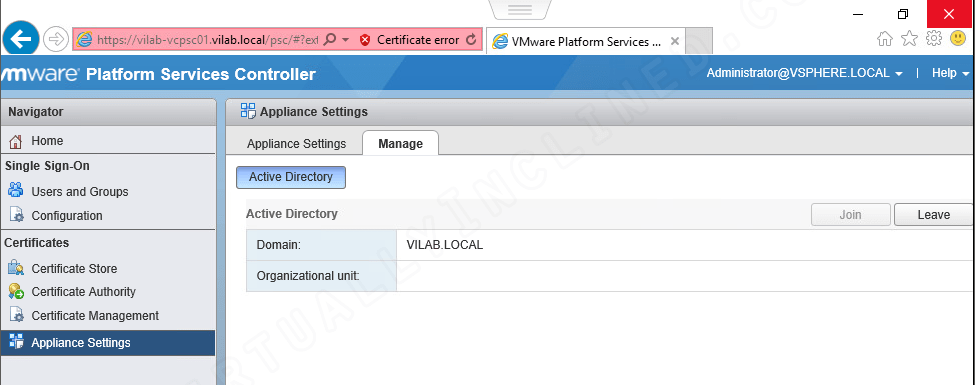
On the initial Appliance Settings page there’s only a link and that’s it. We’ll go back to that shortly, but for now we need to click the Manage tab. We’re presented with the current Active Directory configuration for the PSC. We need to click Join to join the PSC to the AD domain.

The Join Active Directory Domain dialog comes up. We type in the Domain information here. You can specify an Organizational Unit that you want the VM to be placed into but it’s not required so I’m skipping that part. We also need to enter AD credentials capable of adding Computers to the domain and then click OK.

Back on the Manage tab it now shows the Domain information we entered. The VCSA PSC appliance will need to be rebooted to complete the domain join. We have to click on the Appliance Settings tab now.
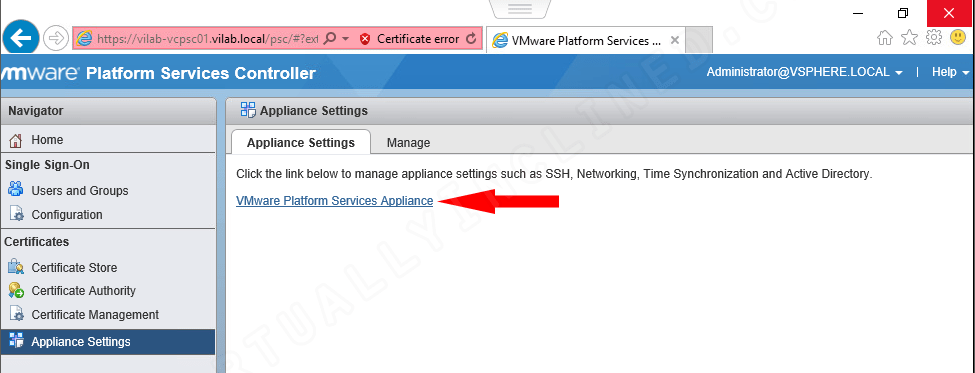
Here’s the single link I mentioned earlier. This part is easy, click the VMware Platform Services Appliance link and it will take you to the appliance admin login.
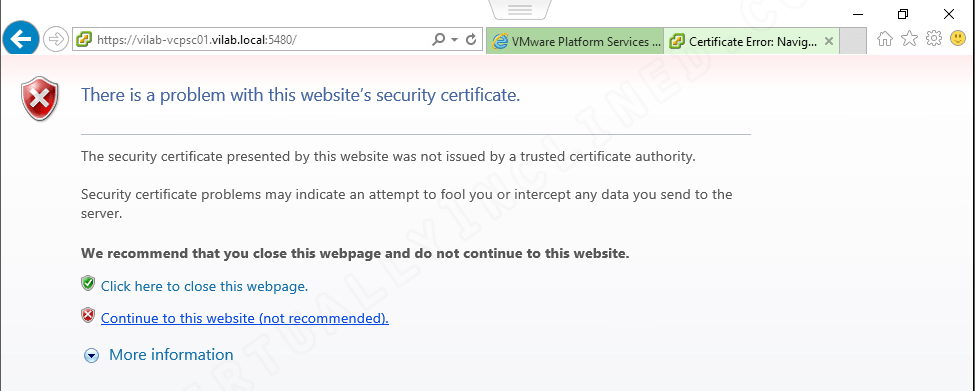
So we’re back with a dialog indicating there is a problem with the certificate chain. Again this is expected since we’re still using the self-signed certificates. Click the continue link here.
VCSA PSC Appliance Management Interface
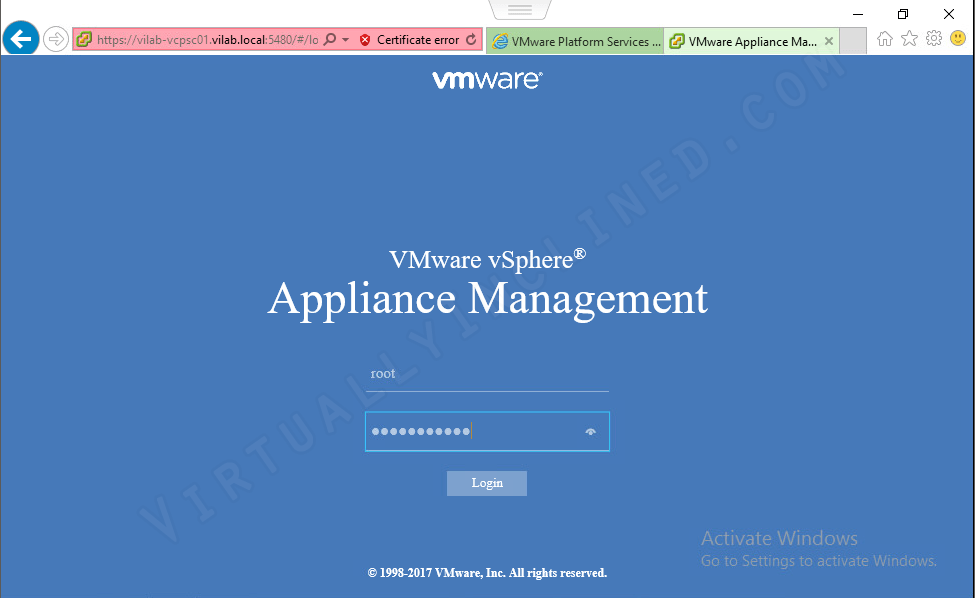
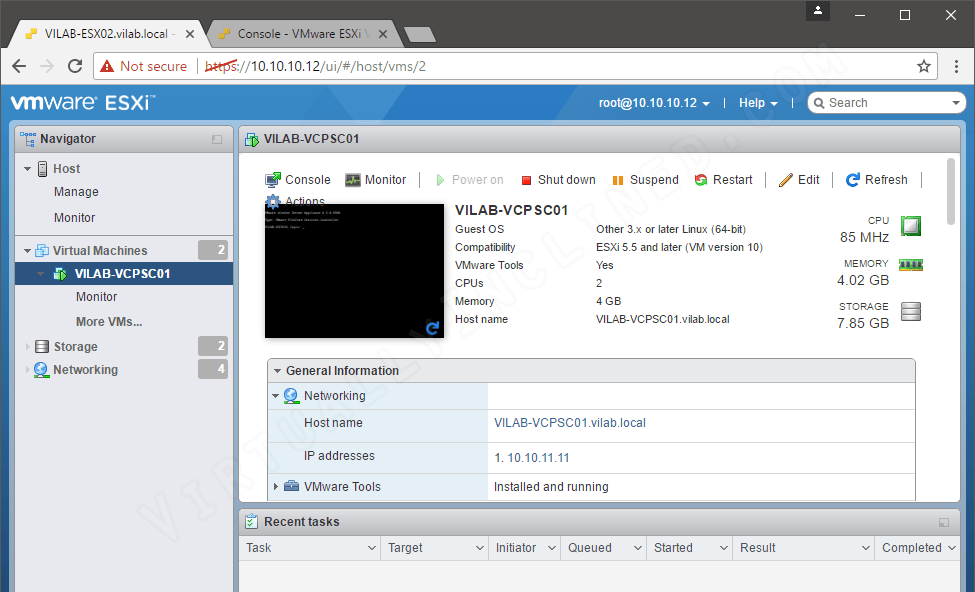
We’re presented with the login page for actual VM appliance itself. We need to enter the root account username and password here and click Login.
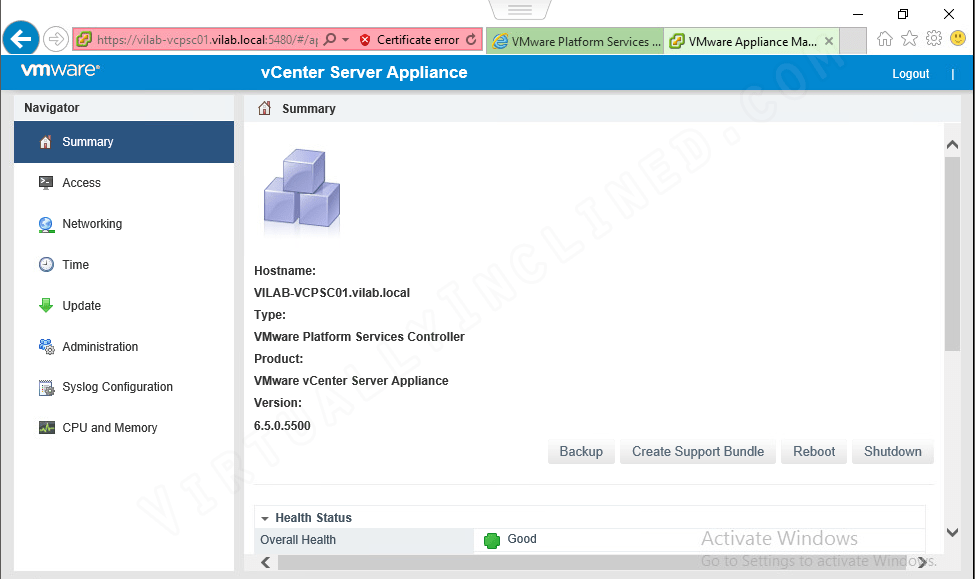
The VCSA Appliance Management interface is for managing the OS level components of the appliance itself including utilization, networking, accessibility, updating and logging. I’m not going to go into what’s on each section here since we’re just looking to get things configured for this article. The only thing we really need to configure here is the timezone so we’ll click the Time section on the left
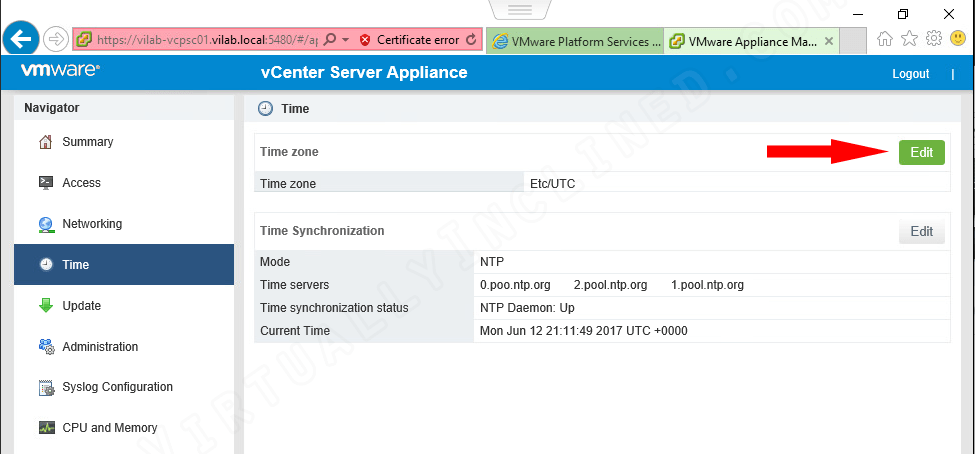
We’ve already configured NTP settings on the last article during VCSA deployment so we don’t need to change that. We do, however, need to change the Time zone as it defaults to Etc/UTC. click the Edit button to make the change
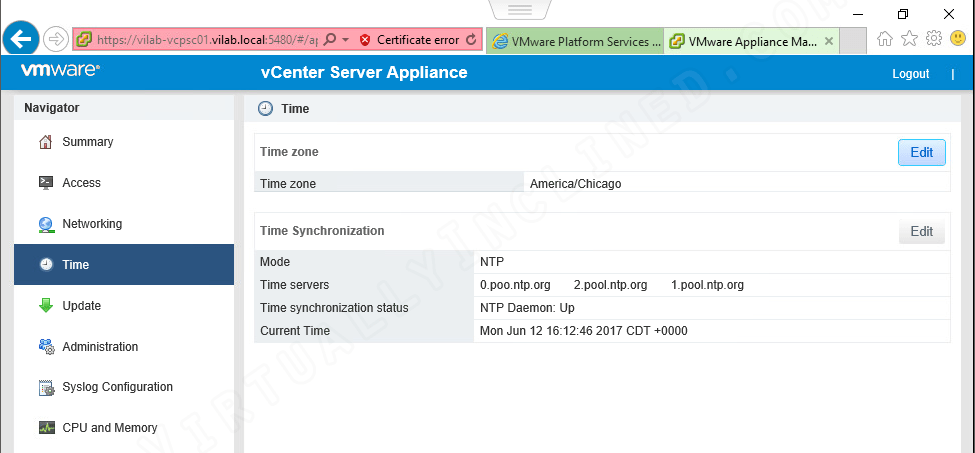
Here I’ve picked the Central time zone which equates to America/Chicago.
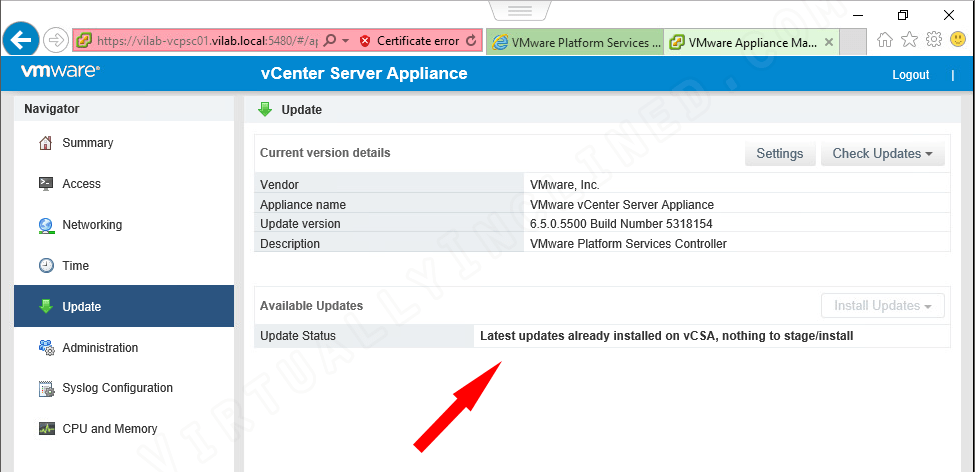
Moving on to the Update section the appliance has a built-in updating mechanism. If we click Check Updates and then Check Repository the appliance will go out to the preconfigured online source and check for any version updates.

In this case this is the latest available VCSA version so there are no updates available as indicated by the Updates Status.
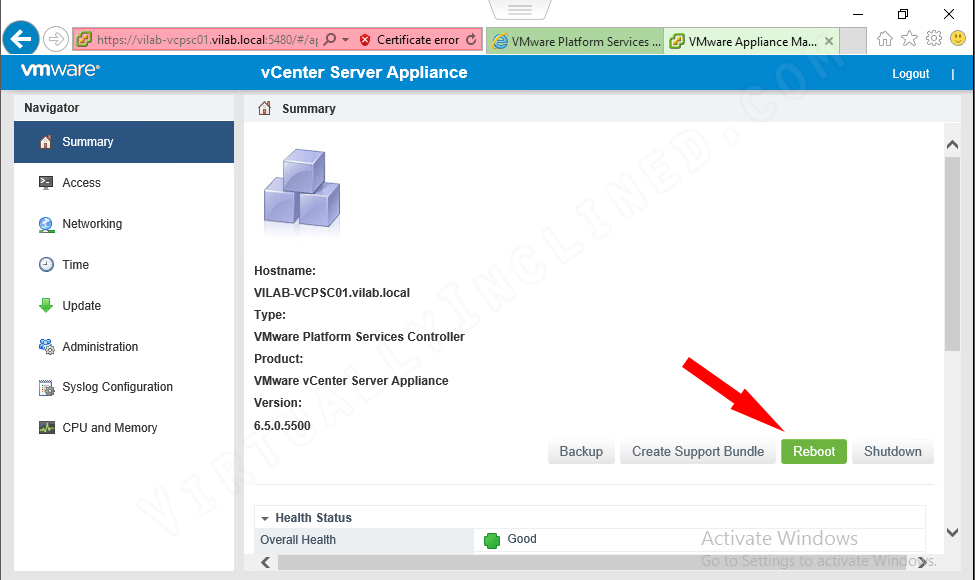
Moving back to the Summary section we’re ready to go ahead and reboot the appliance. We need to reboot the VCSA appliance for the Join Domain action that we did earlier to actually take effect. Click Reboot to reboot the VCSA PSC Appliance.
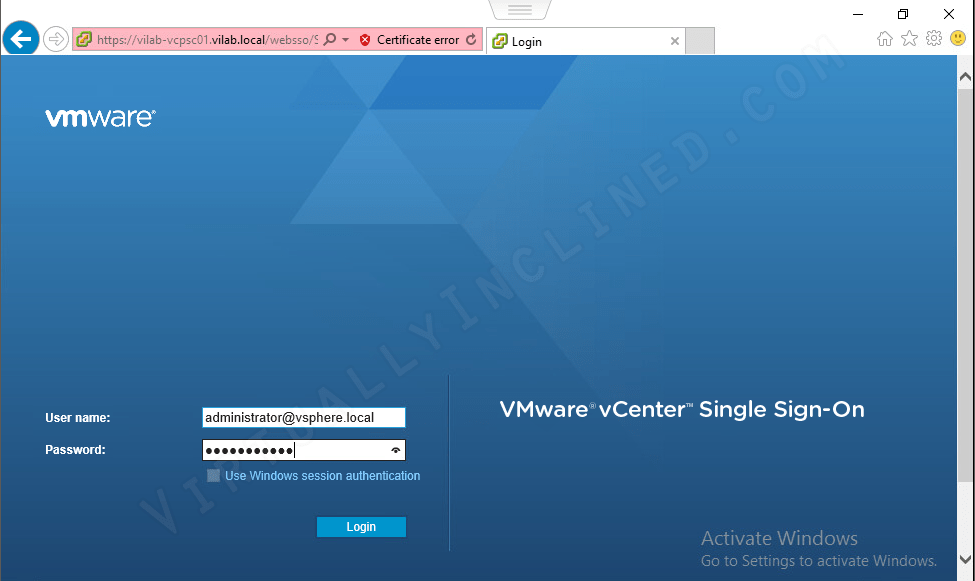
After the VCSA PSC Appliance reboots we need to open a new browser tab and browse to https://<FQDN_of_VCSA_PSC>/psc and that will take us back to the Platform Services Controller web interface login. We’re going to enter the administrator@vsphere.local as the username, the password and then click Login.
SSO Configuration
Now that we’re logged back into the VCSA PSC we’re going to configure SSO and add permissions to the necessary users and groups so we can login with more than the default account. Click the Configuration section, click the Identity Sources tab and then click the Add button.
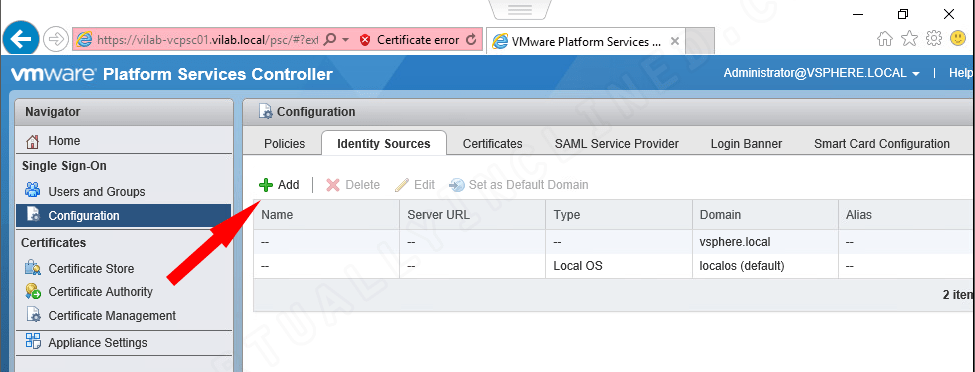
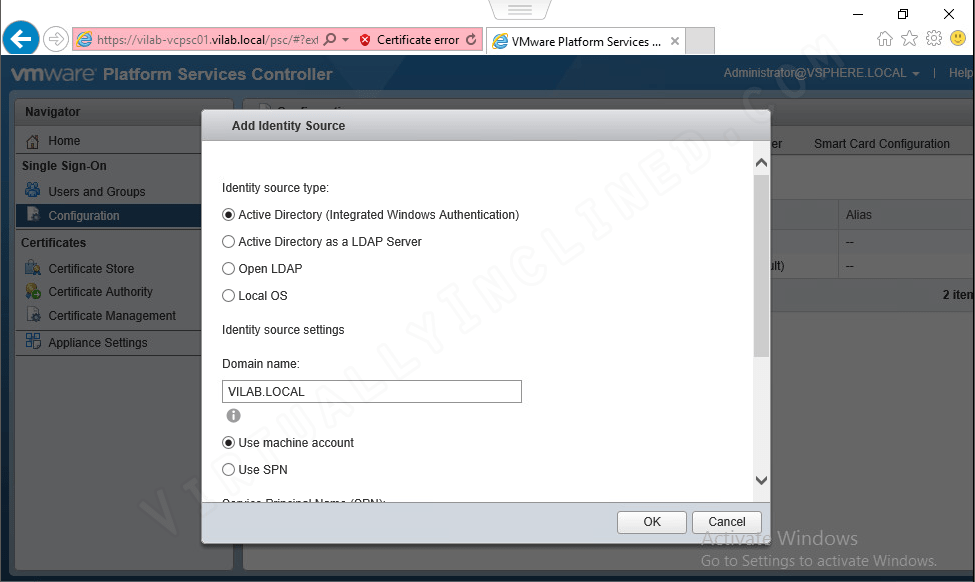
Presented with the Add Identity Source dialog we have a few options here. Now since we’ve already joined the VCSA PSC Appliance to our Active Directory domain we really only have one option to talk about here. Click the radio button into Active Directory (Integrated Windows Authentication). The Domain name section will automatically populate and we click OK to continue.
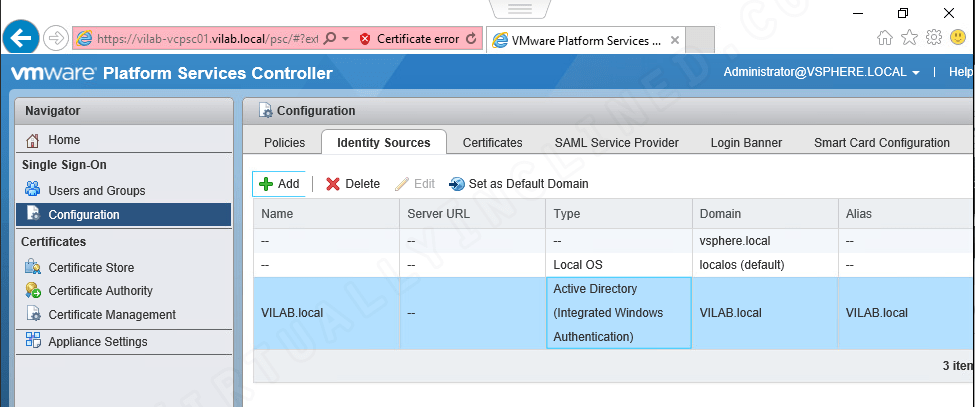
As seen below, this adds our AD domain as a source for users and groups to assign permissions to. Next we move to the Users and Groups section on the left and then click the Groups tab.
Here we’re going to assign our AD users/groups permissions under the built-in groups to administer the Platform Services Controller and eventually vCenter itself. There are 2 groups that we will need to add members to so that we can fully administer our vSphere environment. The first is the Administrators group which will allow our users/groups to administer almost everything on the PSC and vCenter.
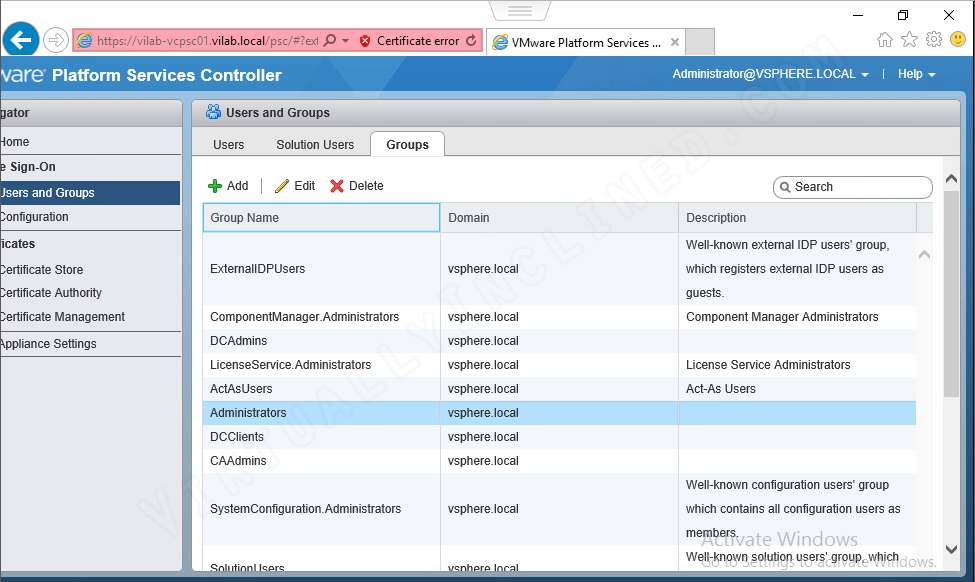
Highlight the Administrators group and then under the Group Members section click the Add button.

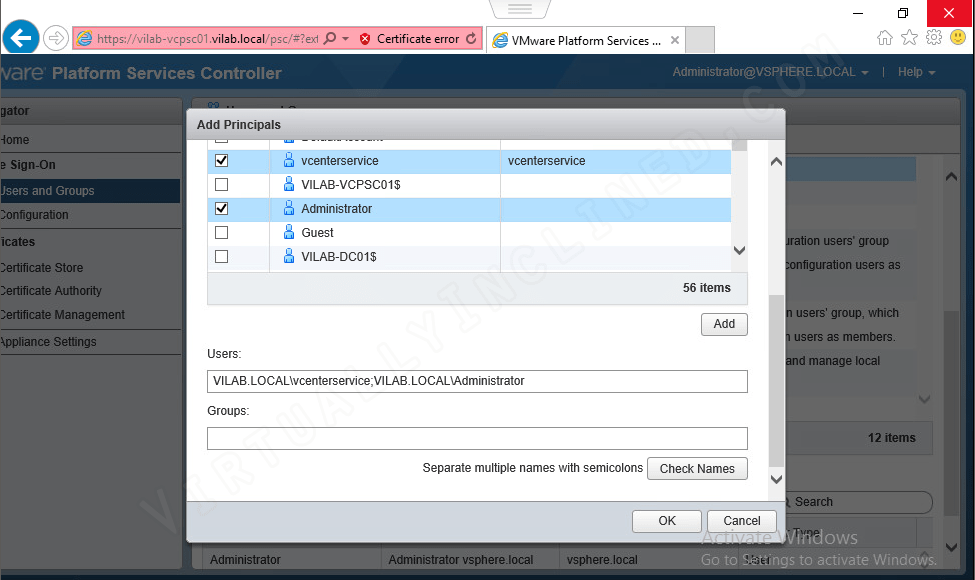
The Add Principals dialog appears and first we will select our domain. The default domain selection is the vsphere.local domain so we need to make sure and pick our AD Identity Source here to pull users/groups from our AD domain. I’ve selected the Domain Administrator account, Domain Admins group and a service account I created to login to vCenter later. This is of course just for demonstration and it’s generally not recommended to even use the Domain Administrator for things like this.
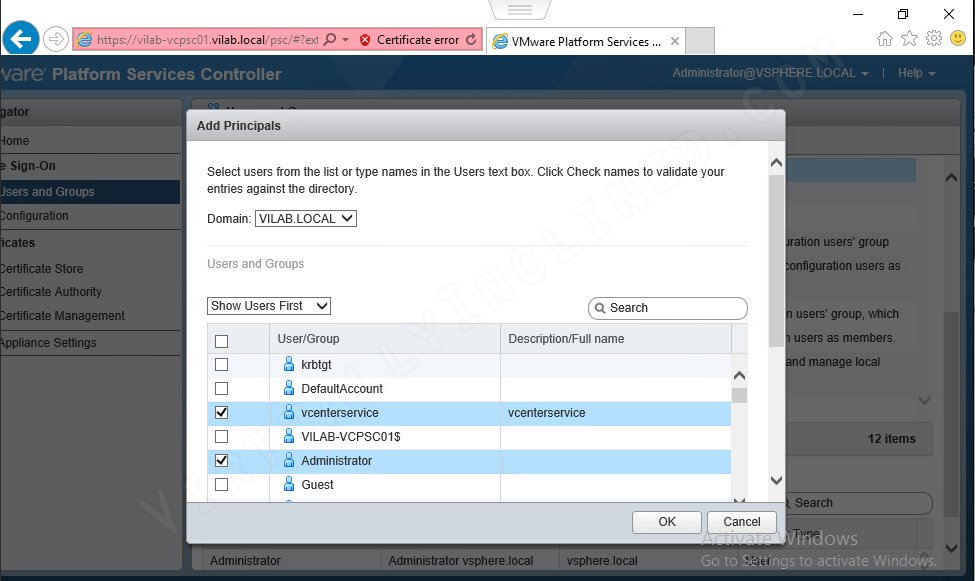
We have to make sure to click the Add button here and that the selected users or groups show up at the bottom of the dialog. Click OK here to continue.
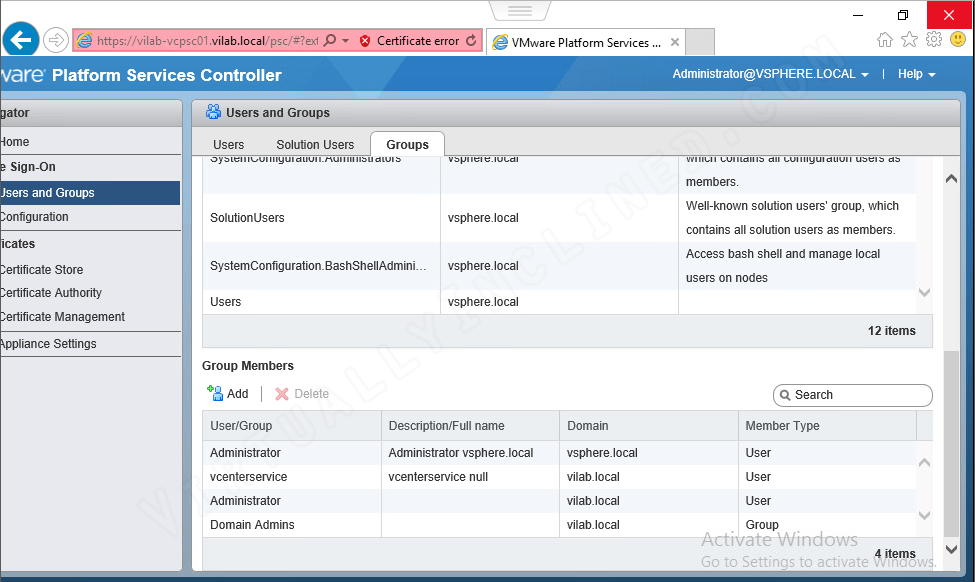
We now see the users we added to the Administrators group listed as Group Members.
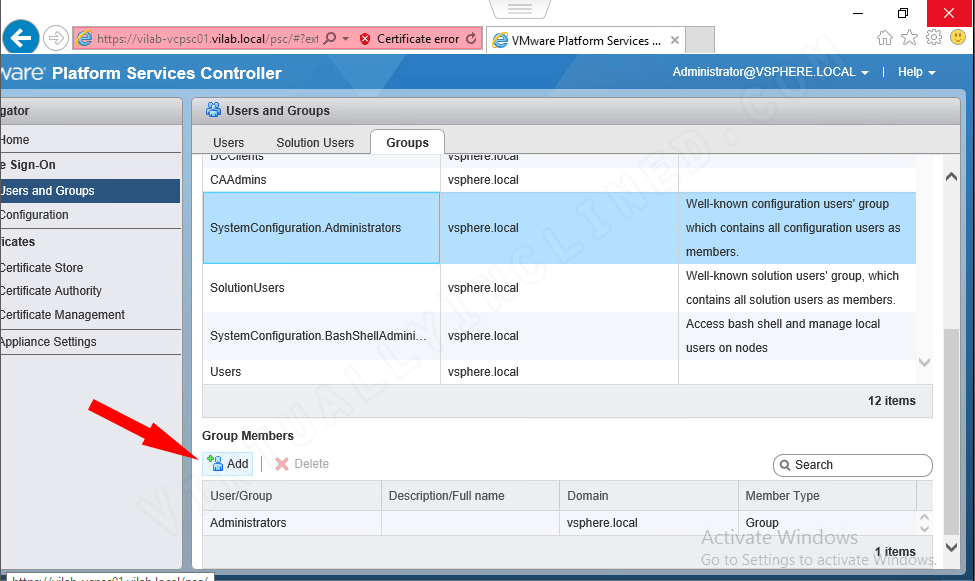
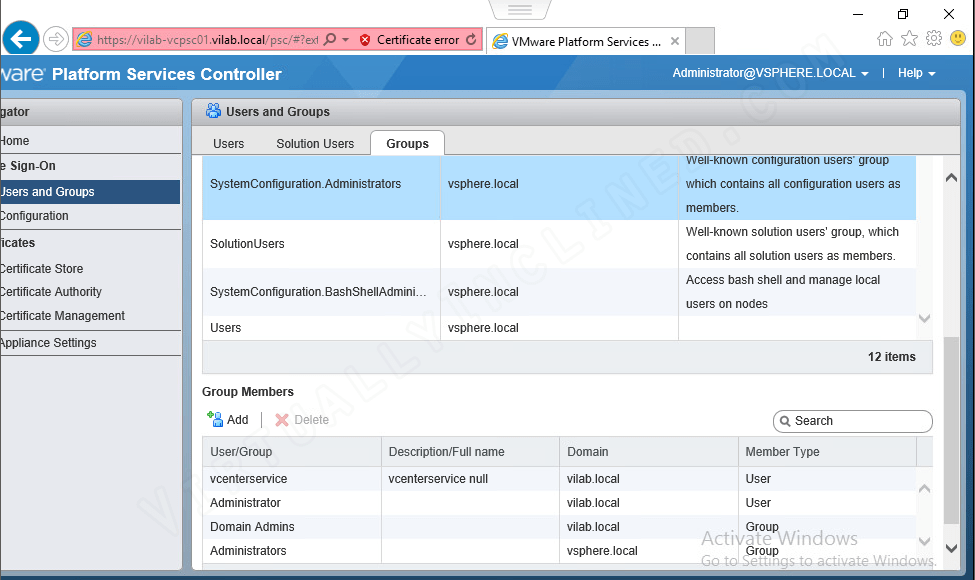
The second group we need to add users/groups to is the SystemConfiguration.Administrators group. Under the vSphere Web Clients Administration section, many of the settings will not be available unless the logged in user is a member of this group. We highlight the group and click Add under the Group Members section.
I’ve added the same users/group here that I added to the Administrators group.
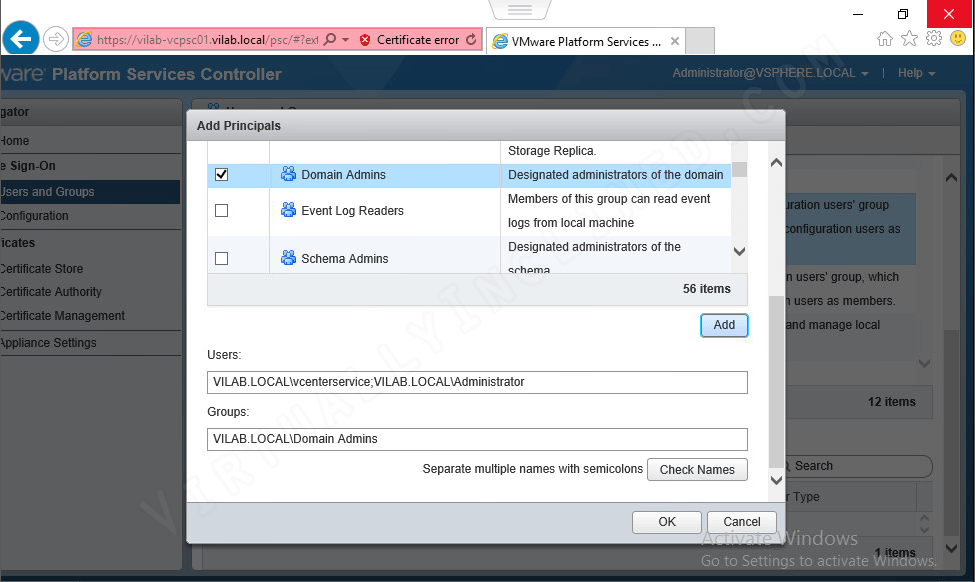
Both the Administrators and SystemConfiguration.Administrators groups now have the same Group Members for simplicity.
We now have a configured and functional vCenter Server Appliance – Platform Services Controller.
In Conclusion
In this article we were able to configure the VCSA Platform Services Controller and we’re now ready to pair it with a vCenter server. We logged into the appliance after deployment was successful. We joined the VCSA PSC to our Active Directory Domain, configured the time zone, checked for updates and rebooted the VCSA PSC. We also configured SSO by adding an Identity Source in the form of our Active Directory domain. From that we added users and groups to the built-in Administrator groups so we can login to the PSC and eventually the vCenter when it’s deployed and configured.
In the next article we’re going to deploy the VCSA vCenter server. Thanks for reading!