- VMware vSphere 6.5 Series (Part 1) – VMware Host Client – Introduction
- VMware vSphere 6.5 Series (Part 2) – VMware Host Client – Configuration
- VMware vSphere 6.5 Series (Part 3) – VCSA PSC Install
- VMware vSphere 6.5 Series (Part 4) – VCSA PSC Configuration
- VMware vSphere 6.5 Series (Part 5) – VCSA vCenter Install
- VMware vSphere 6.5 Series (Part 6) – VCSA vCenter Configuration

This is my first attempt at a series and I decided to make it about vSphere 6.5. I’ll be covering as many new components and features of vSphere 6.5 as possible here so sit back and enjoy!
VCSA PSC Install – Stage 1
The next few entries in this series are going to cover installing the vCenter Server Appliance. The vCenter Server Appliance or VCSA, for short, is a Linux-based pre-packaged deployment of vCenter. We no longer need a Windows and SQL license to build vCenter. The vPostgres database is embedded within the appliance and neither the OS or database requires any additional licensing. In vSphere 6.5 the VCSA now contains a ton of new features and capabilities like vCenter HA and Update Manager. This means in most cases using the VCSA is going to be a no-brainer.
In vSphere 6 we were introduced to the Platform Services Controller. For those that aren’t aware the Platform Services Controller or PSC is the new component of vCenter that handles global licensing, permissions, authentication (SSO) and certificate management. It can be deployed “embedded” within a vCenter server as an integrated component or it can be deployed as “external” which means it runs on its own server. PSC’s can be deployed on both Windows and Linux-based (VCSA) servers. If you want to use Enhanced Linked Mode, you have to go with an “external” PSC.
For this article, I am going to install an “external” PSC using the VCSA installer. There are two parts to the deployment. Stage 1 covers the Install of the PSC itself. Stage 2 covers the configuration of the PSC, once deployed, through the installer. The actual configuration of the PSC, joining it to the domain and setting administrative user permissions will be in the next article.
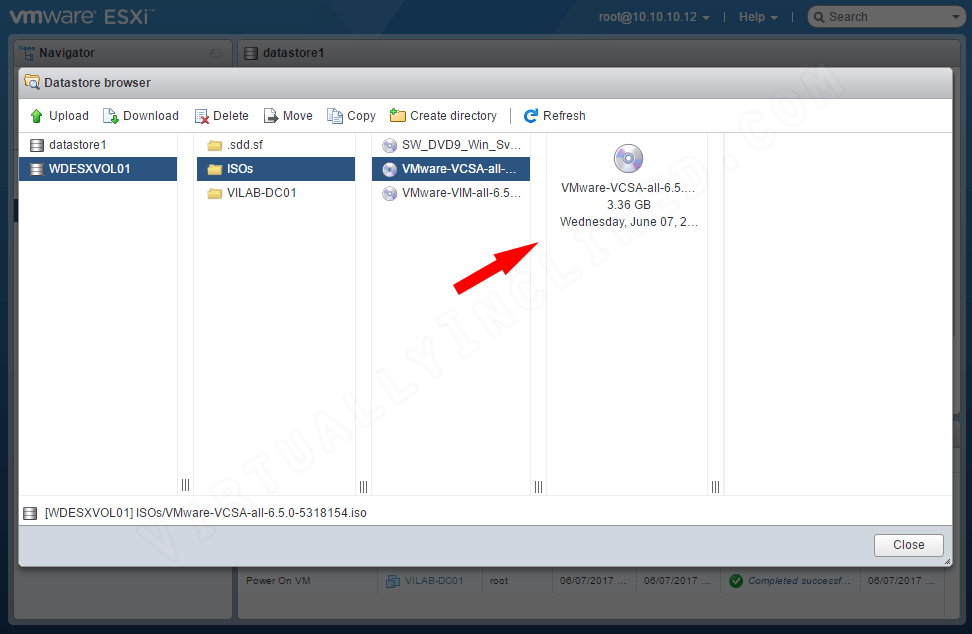
So let’s get started. As you can see below I’ve already downloaded the latest VMware VCSA ISO and I’ve uploaded it to the datastore using the Datastore Browser from the VMware Host Client connected to one of my hosts. In this instance I’ve also attached the ISO to one of my Windows Server 2016 VM’s and from there I’ll run the installer.
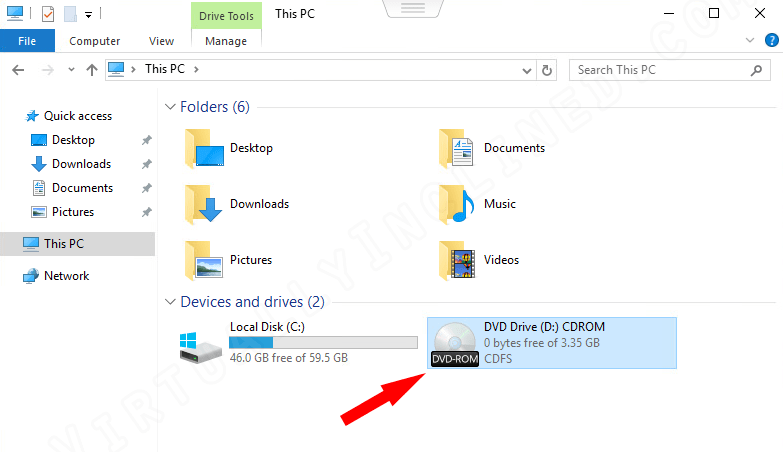
I’ve connected to a console session on the Windows Server 2016 VM and opened Windows Explorer here. The ISO for this particular version of the VCSA is rather nondescript and doesn’t have an icon or name listed. That’s ok, I’ll double-click to open it since it also does not have any auto-run application on it.
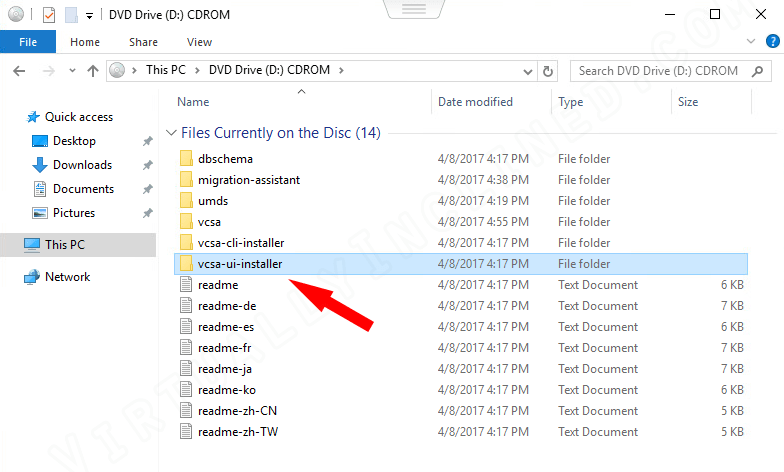
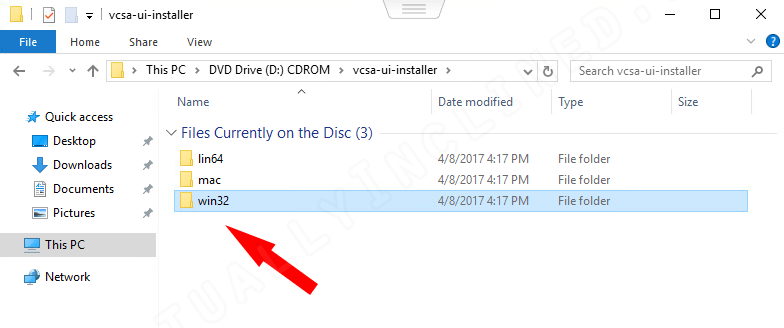
At the root of the mounted ISO we have several folders and “readme” text files in various languages. If you’re so inclined the “readme” explains what’s in each of the folders. For our purposes the path we need is “D:\vcsa-ui-installer” so I’ll double-click that folder.
Next up we double-click the “win32” folder.
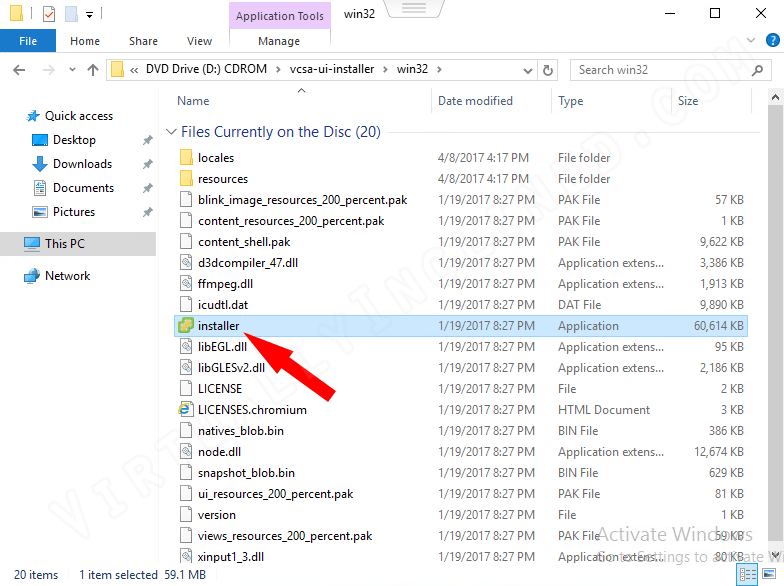
Here we have the actual installer executable we need to run. Why they couldn’t put this at the root or a launch app or even set auto-run on this ISO I’ll never know.
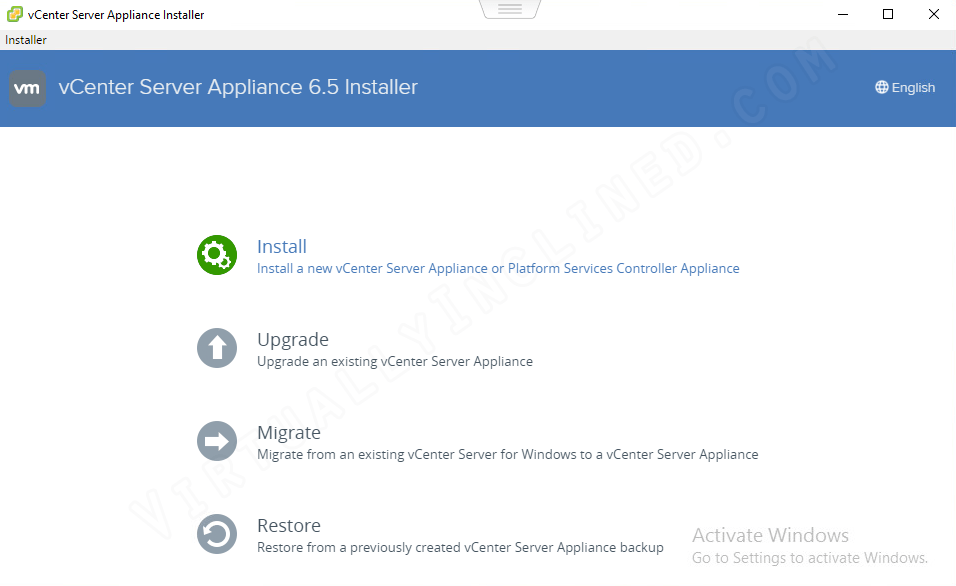
We finally have the vCenter Server Appliance 6.5 Installer up now and it presents us with several options. In this article we’re doing a fresh Install but we also have options to Upgrade an existing VCSA appliance, Migrate from a Windows vCenter to a VCSA appliance or Restore from a VCSA backup. Since this is a greenfield environment I’m of course just going to click Install to start a new deployment.
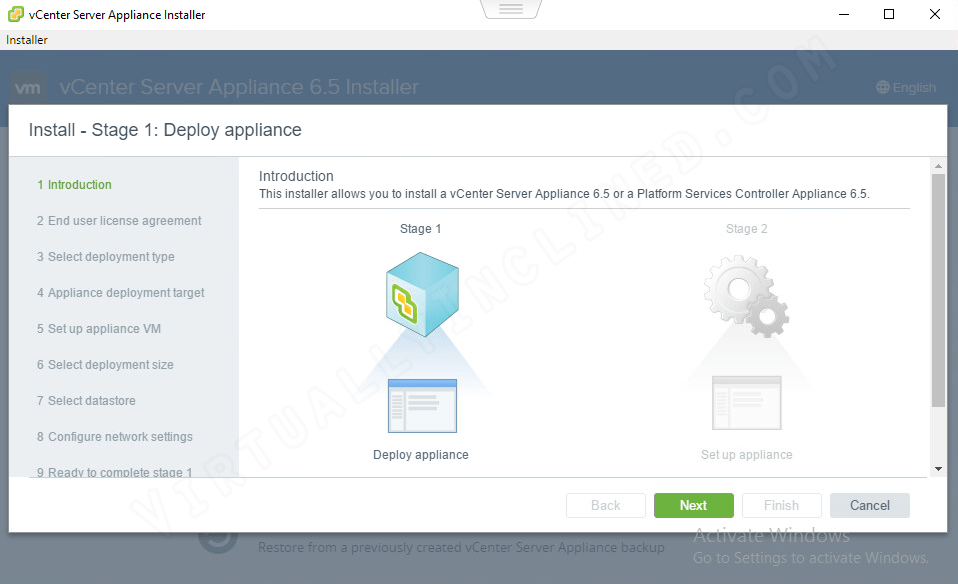
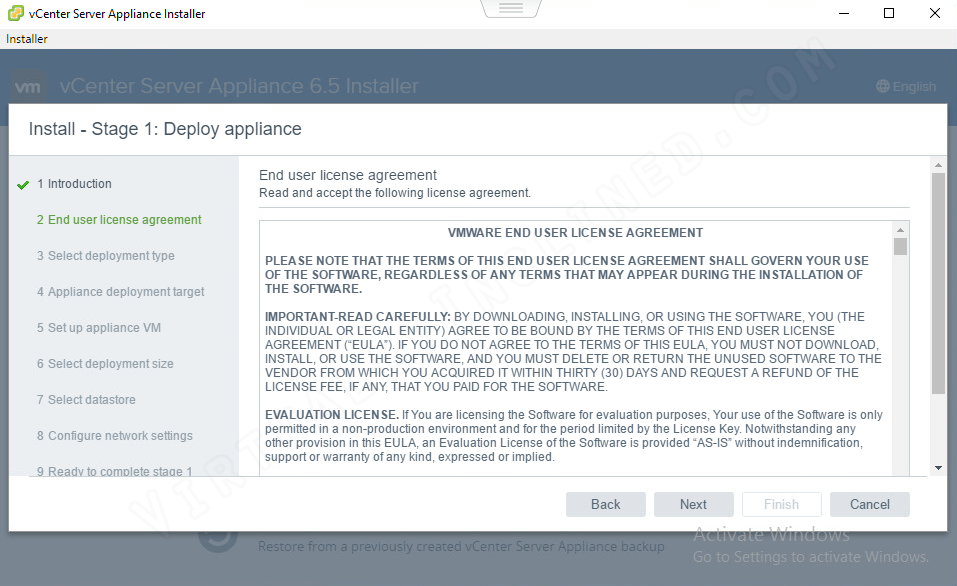
The Installer explains that we’re on Stage 1 which is the deployment portion so we just click Next.
You can take your time and read through the entire End User License Agreement here if you want.
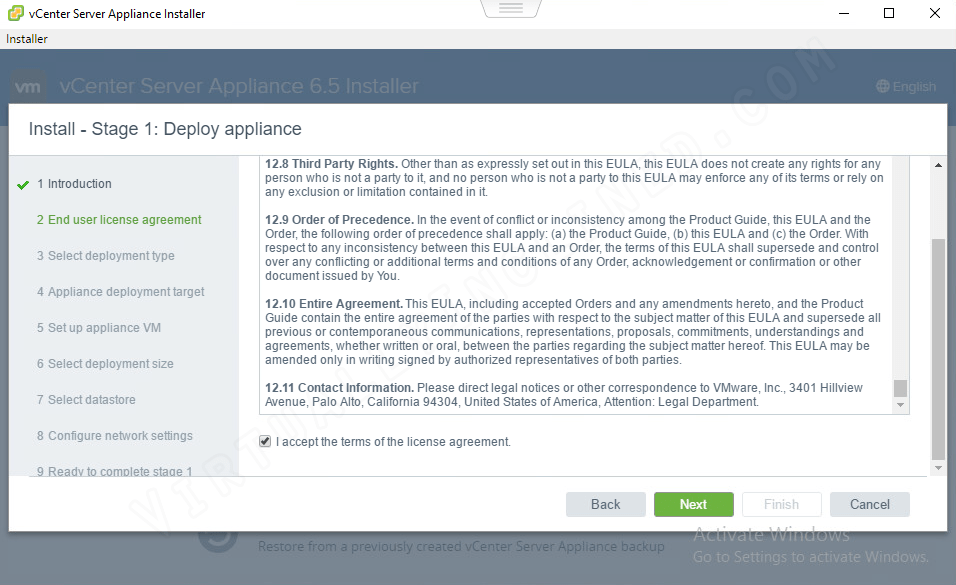
Don’t forget to scroll to the bottom of the EULA and put a check into I accept the terms of the license agreement and then click Next.
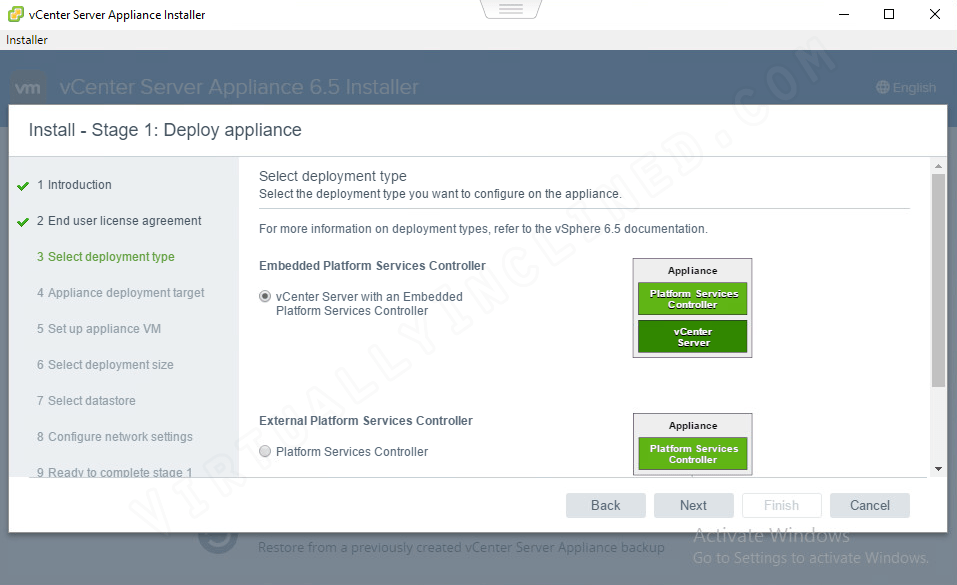
Here we must select our deployment type. The default is to install vCenter with an Embedded Platform Services Controller.
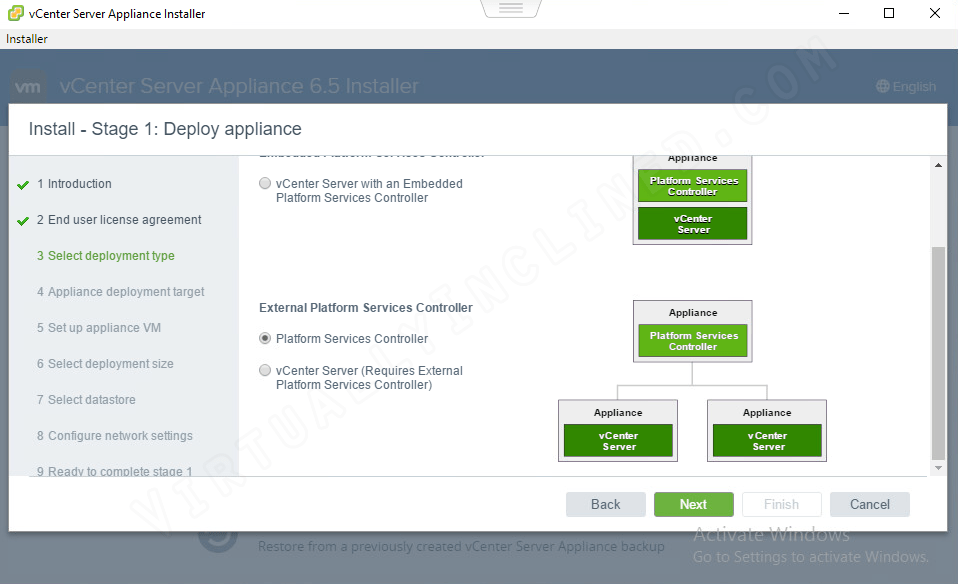
As I indicated previously for this article we’re going to deploy an External Platform Services Controller so we have to scroll down a bit and put the dot on the right option which is Platform Services Controller and click Next. If you mess it up and run with the default option this can be changed later by repointing the vCenter server to an External PSC, but in most cases it may just be easier and cleaner to start fresh and redeploy.
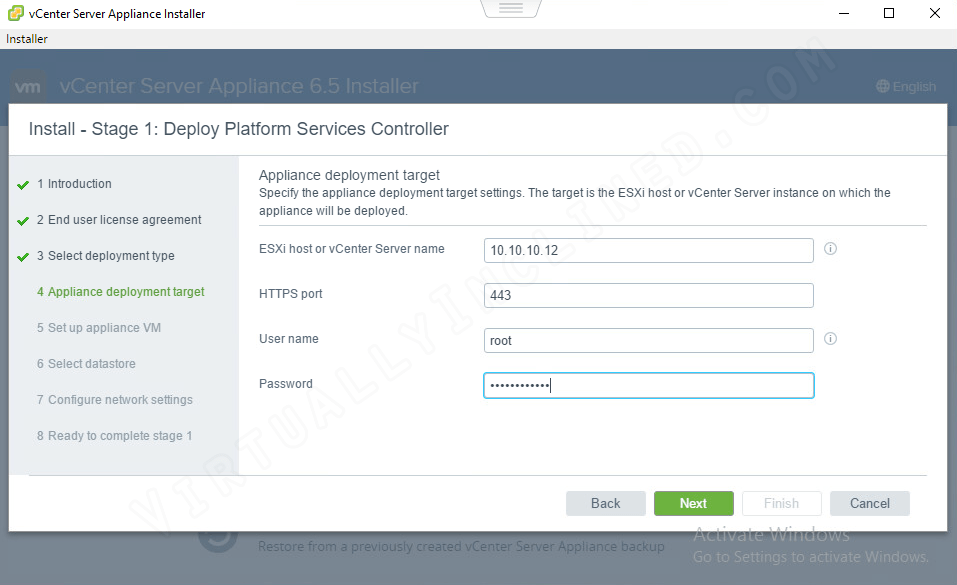
On the Appliance Deployment target section we have to specify the ESXi host or vCenter server we want to deploy the VCSA PSC on. We must specify the IP or Hostname, HTTPS port as well as Username and Password. If you are targeting an ESXi host enter the IP, default port of 443 and the root account as username and the password. Here I’ve filled in the required information specific to my lab and I click Next.
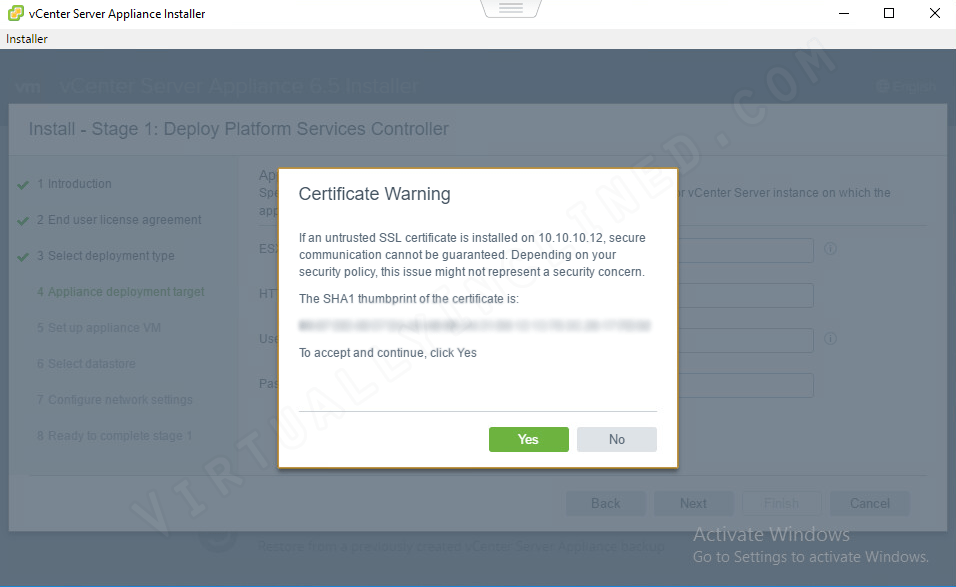
The installer will now connect to the host and we get a certificate warning. This is expected behavior because the host is using the default self-signed certificate. Click Yes here to accept the certificate as trusted and continue.
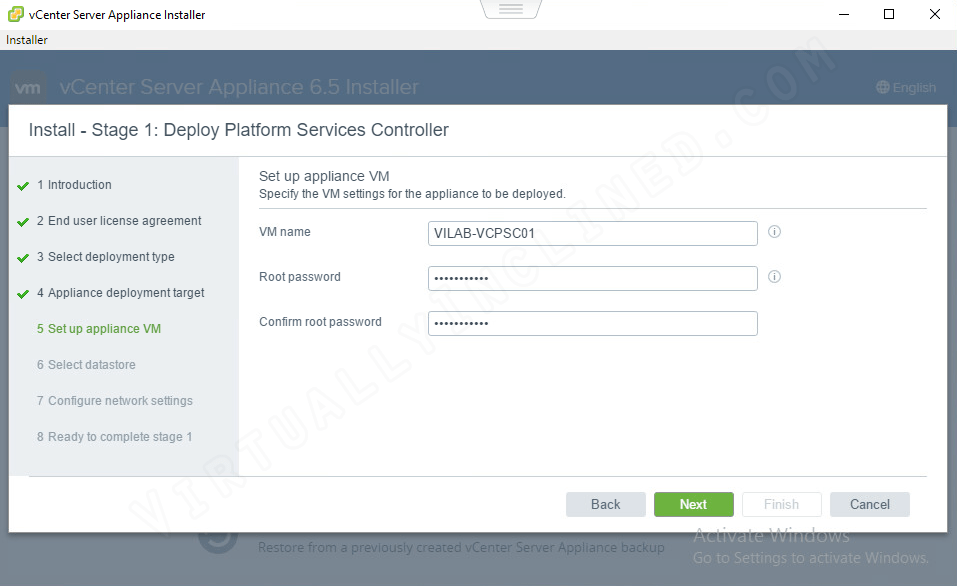
Here it asks us to put a VM name to the VCSA PSC appliance which I’ve entered as well as a password for the root account on the appliance. Click Next to continue.
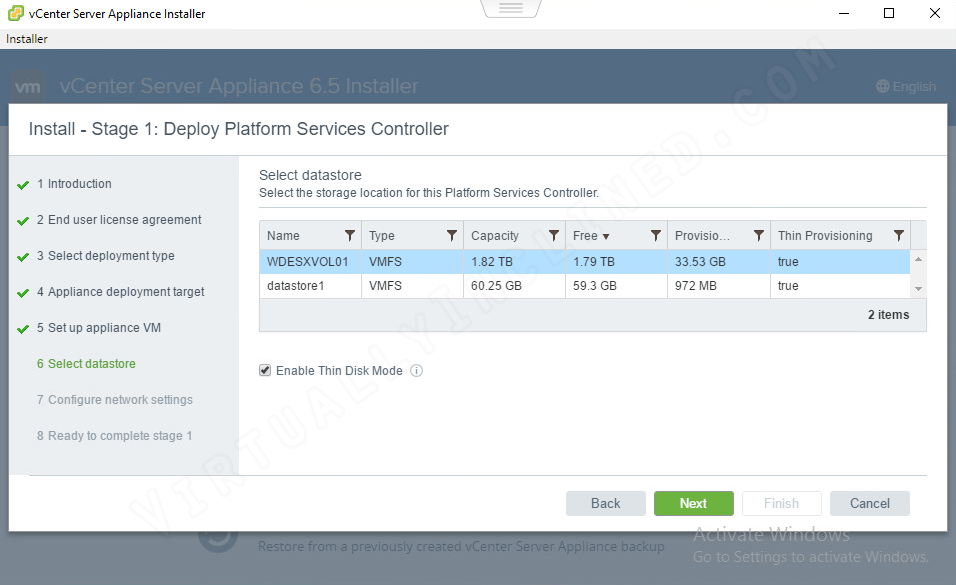
Pick the datastore where you want the appliance to live. There are some considerations here for storage sizing depending on your environment which you can read more about here. The appliance storage needs may vary depending on the size of your virtual environment. In this case I only have one datastore in use and it has plenty of space allocated so I pick it and click Next.
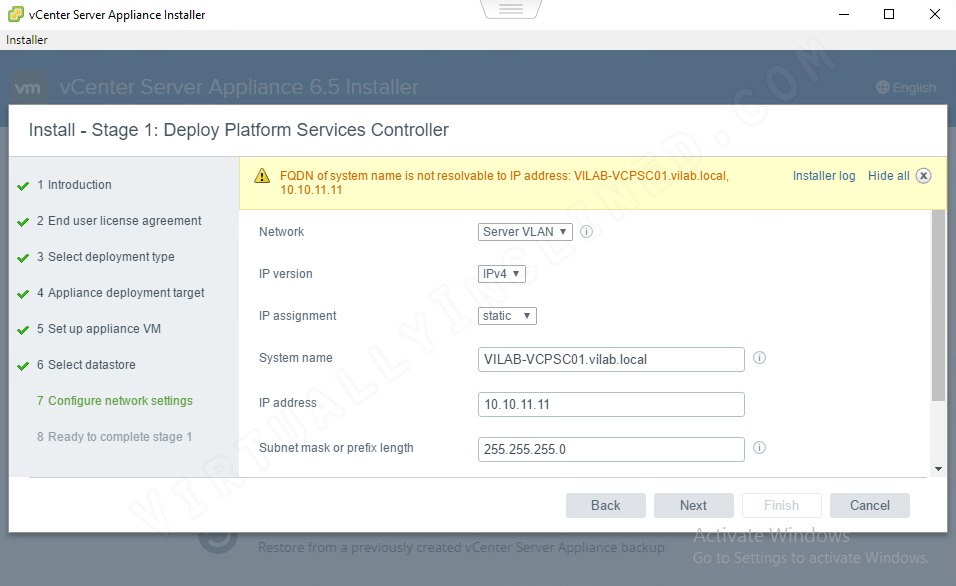
On this page we must enter all the network settings for the appliance. The first setting is the Network option which is pulled from preconfigured port groups on my host. In this case I chose the Server VLAN. I’m using IPv4 so I leave IP version option as is. On IP Assignment I am using a static IP so it stays as is. I enter the System name which in this case is the full FQDN that I want to name the appliance. I also entered the IP address, Subnet mask, Default Gateway and DNS servers here as well. I click Next but it throws an error. I’ve intentionally left out the step to avoid this so I can demonstrate the error here. The Installer will do a DNS check on the FQDN and make sure it resolves to the IP address you specify. If it doesn’t this error comes up. It’s a quick and easy fix. We need to remotely access a Domain Controller and open DNS Manager.
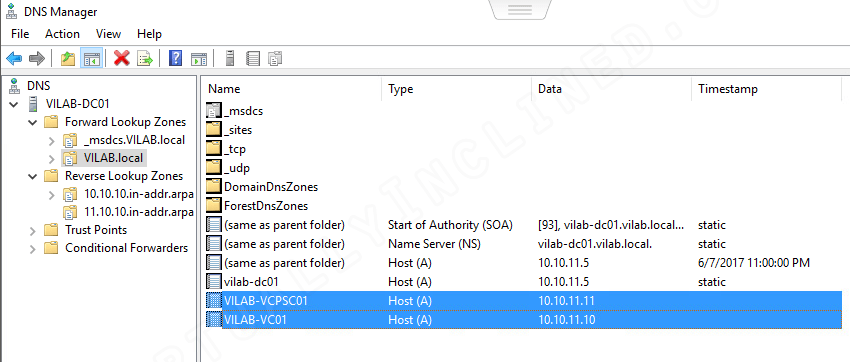
In DNS Manager I click the Forward Lookup Zone I need to add the A Records to and I add the them for both my VCSA PSC appliance and the VCSA vCenter server. Another important note here is you should also have Reverse Lookup Zones for each subnet in use especially on the subnet that the VCSA appliances live on. VCSA vCenter and PSC deployment requires fully functioning Forward and Reverse DNS lookup on the hostnames and IP addresses you’re using. Test the FQDN and IP addresses used with nslookup against your local DNS servers before continuing.
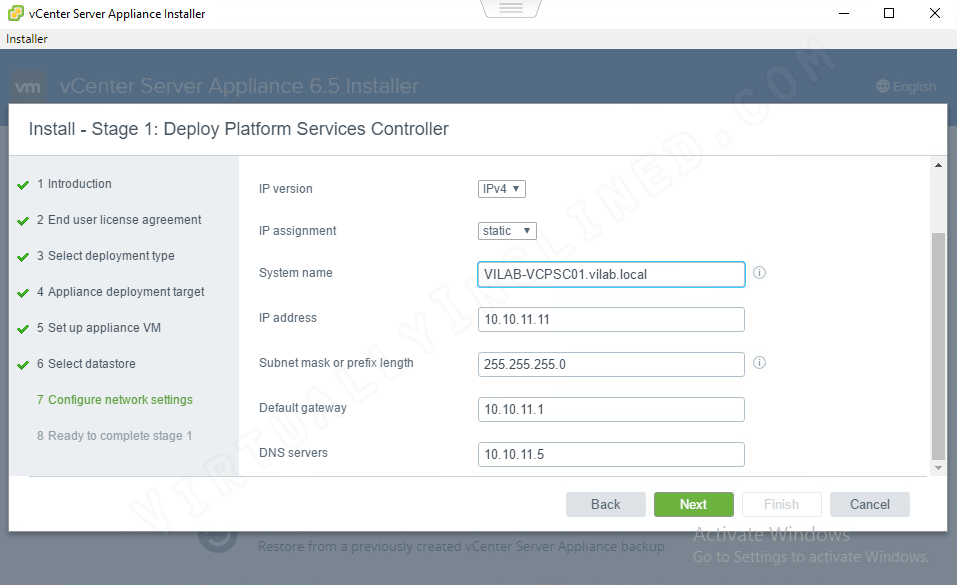
We’re ready to click Next after resolving the DNS issues.
The last interactive portion of Stage 1 shows us all the options we just selected for verification. Once you are certain these are the settings you want to go with click Finish to start the deployment.

These screenshots demonstrate what happens in the 5 to 10 minutes it typically takes to deploy the VCSA appliance. Click each one to see a larger version.
-

- It’s initializing!
-

- Deployment begins!
-

- Installing the RPMs!
-

- Configuring the Network!
The VCSA PSC appliance is now deployed. The appliance is up and running but is partially unconfigured. On to Stage 2!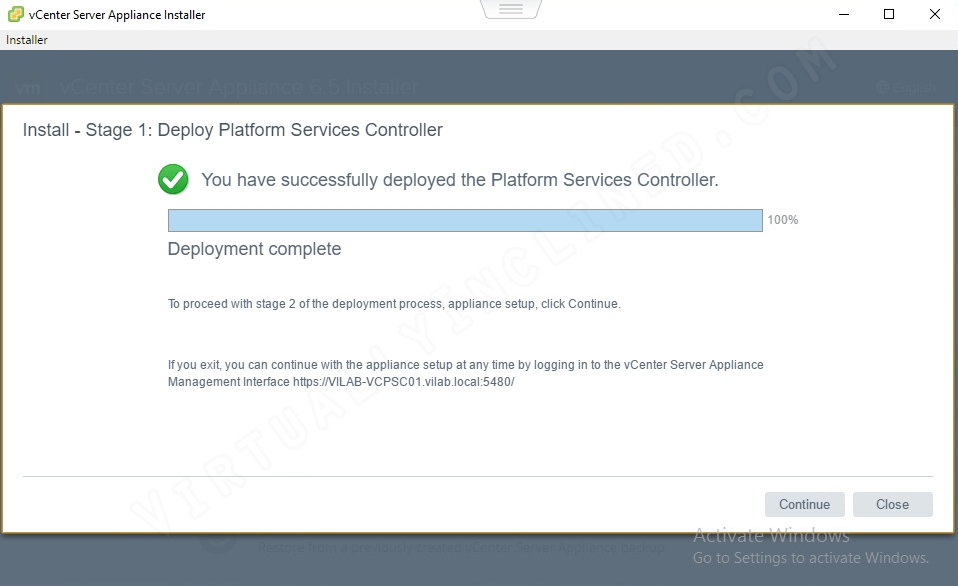
VCSA PSC Install – Stage 2
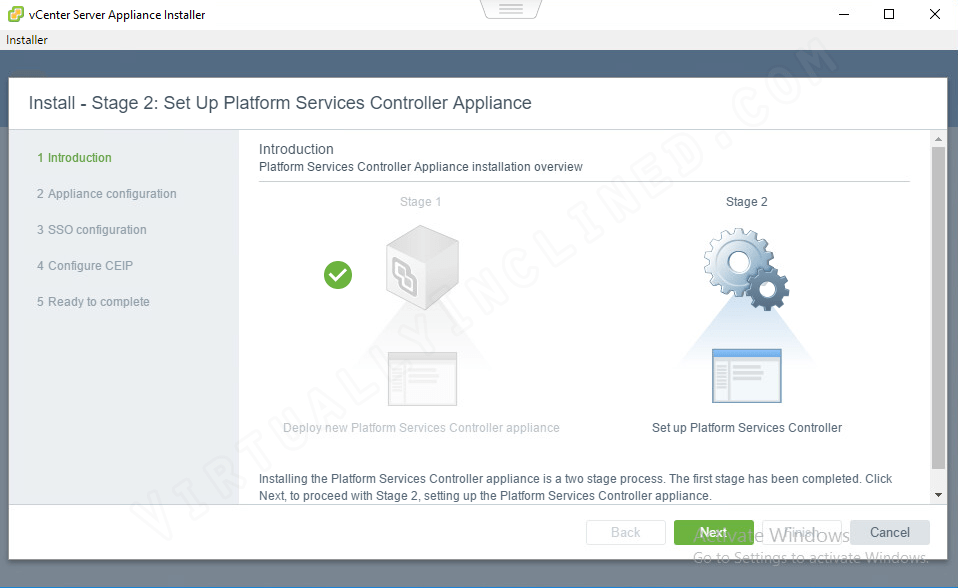
Stage 2 is much less intense than Stage 1 and requires far less input other than the expected Next, Next, etc.. On Stage 2 we are configuring NTP, creating a new SSO Domain and deciding whether we want to join VMware’s Customer Experience Improvement Program or not. Here on Step 1 – Introduction we’re presented with a green check and a grayed out Stage 1 in case you forgot the steps we just went through. No options to select here, just click Next.
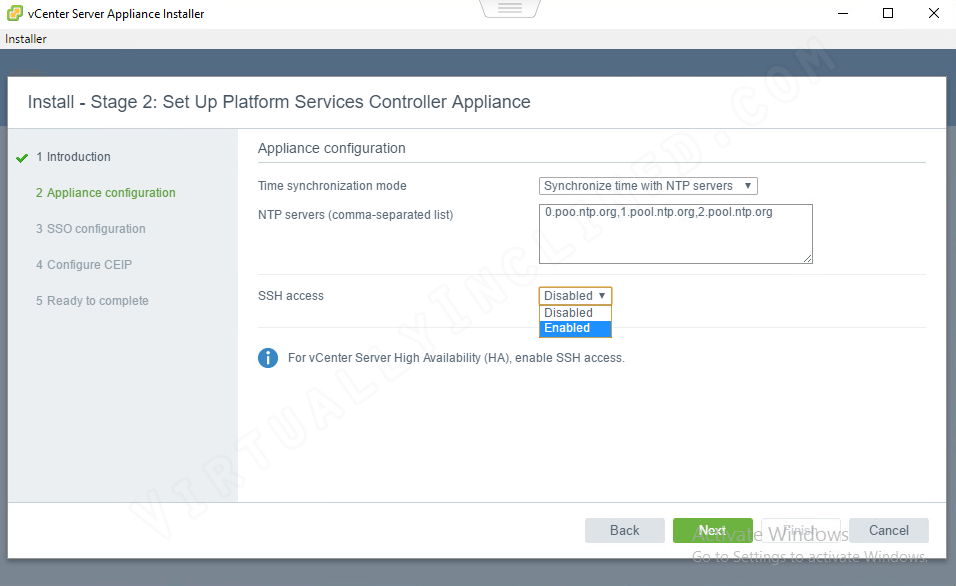
We need to select the Time synchronization mode, add NTP servers and determine whether you want to enable SSH access. I’m going to Synchronize time with NTP servers. I’ve listed the NTP servers I wish to use, separated by a comma. I’ve also opted for SSH access to be Enabled by default. Of note here if you want to use vCenter Server High Availability (HA) you must select Enabled for SSH access. Time to click Next.
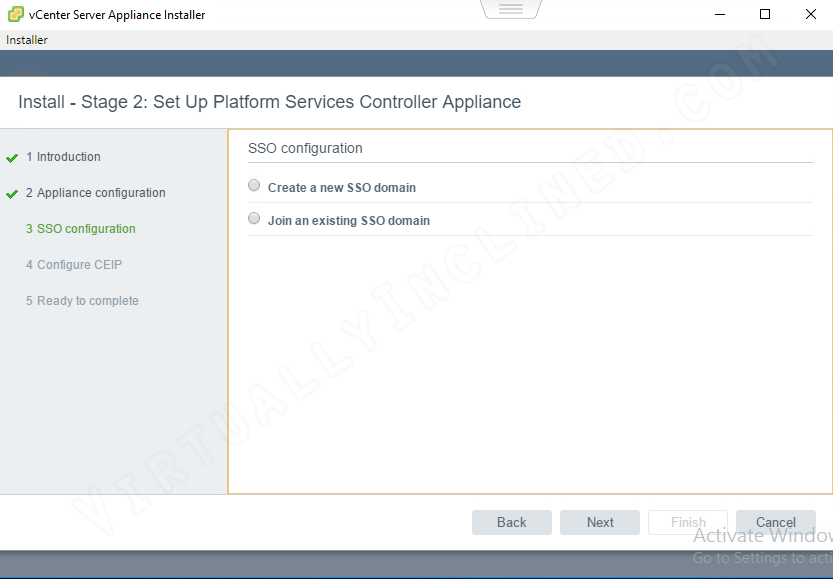
The Platform Services Controller is the first link in the chain for our SSO setup. The PSC is where all authentication and permissions stem from in the new vCenter environment. We will select Create a new SSO domain here. If this was an existing environment and we wanted to add an additional PSC or add a PSC for another cluster, datacenter or remote site we would select Join an existing SSO domain.
When we click into Create a new SSO domain several more fields appear that we have to fill out. The SSO domain name by default is vsphere.local but you can change it to whatever you like as long as it does not overlap an existing LDAP directory. If you do make it the same and try to join the appliance to that LDAP directory problems will happen so make it something unique.
The SSO user name is hardcoded as administrator and cannot be changed. Enter a password into the SSO password fields. The Site name is default-first-site by default but can also be changed to be more descriptive to your needs. You can have multiple PSC’s per site or in different sites and they will replicate to one another. If we were joining an existing SSO domain from another physical location or datacenter we would likely want to create a new site for that. We’re not ready for that here since it’s the first PSC. Click Next to continue

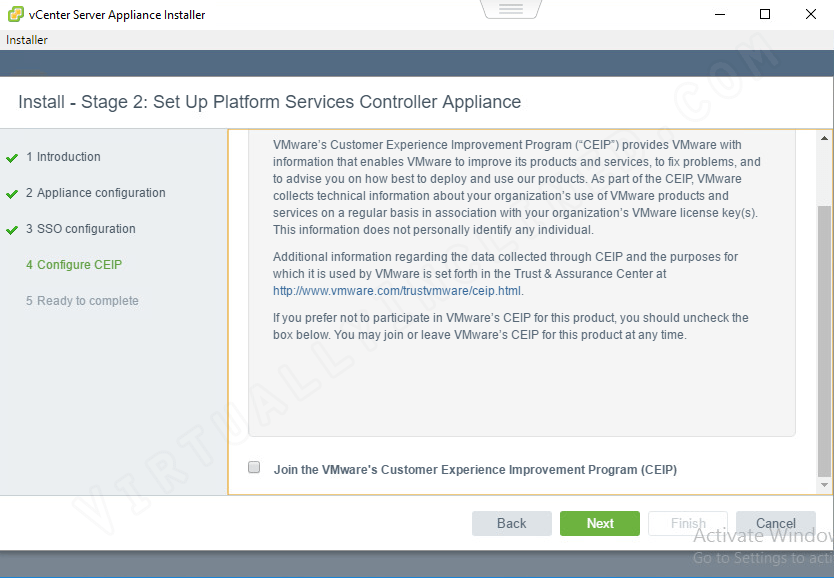
Next up is the option to join the VMware Customer Experience Improvement Program (CEIP). This basically means you’ll be sending a bunch of usage data to VMware if you decide to opt-in.
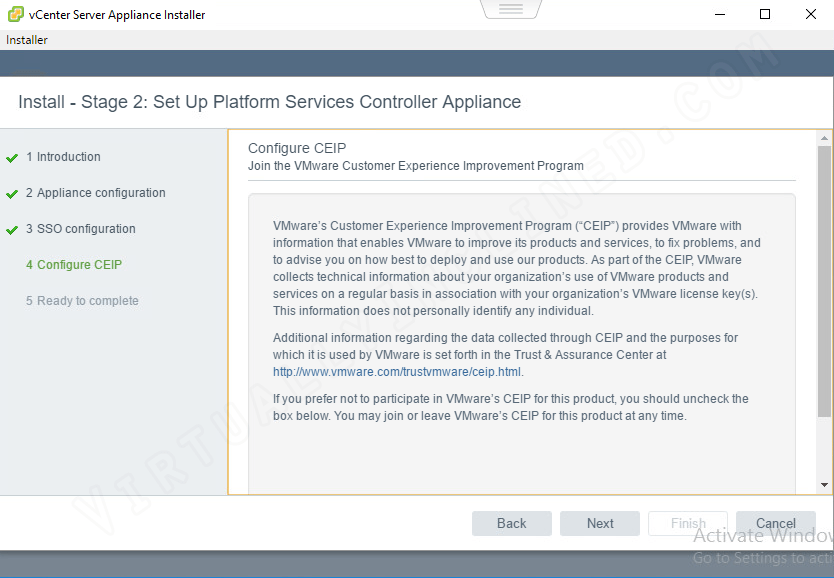
Many of my customers don’t like sending any data to anybody even if it’s benign usage data so I usually opt-out. To do so you must uncheck the Join the VMware’s Customer Experience Improvement Program (CEIP) check box. Once you’ve made your decision click Next.
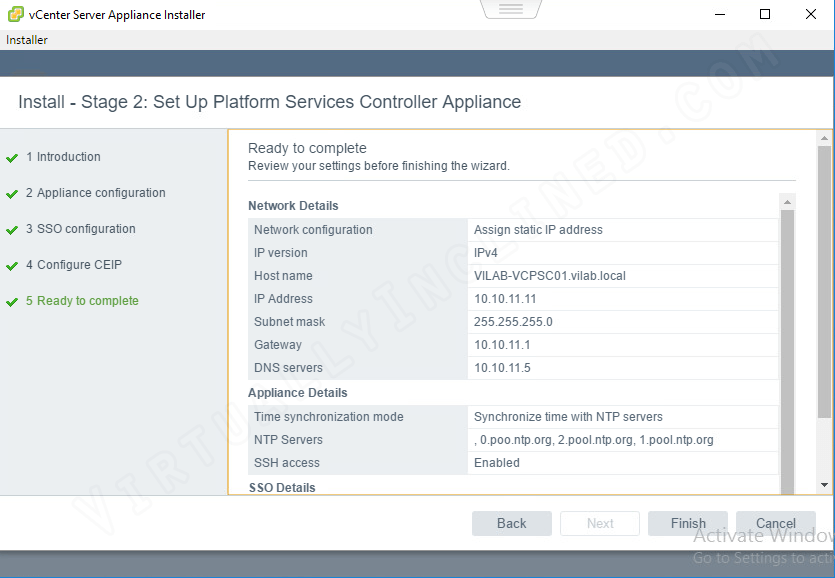
Again we’re presented with a page to confirm our previous choices. Make sure you’ve got everything set correctly here and click Finish. If you’ve set any of these incorrectly you’re likely to be redeploying the VCSA PSC again because it either won’t successfully complete the installer, it may not be accessible or it will conflict with your existing AD domain so double-check your choices here.
These images show the progress indicator really doesn’t change much until the end. This process starts all the necessary services and applies your chosen configuration onto the appliance.
-

- Services are starting!
-

- Services are still starting!
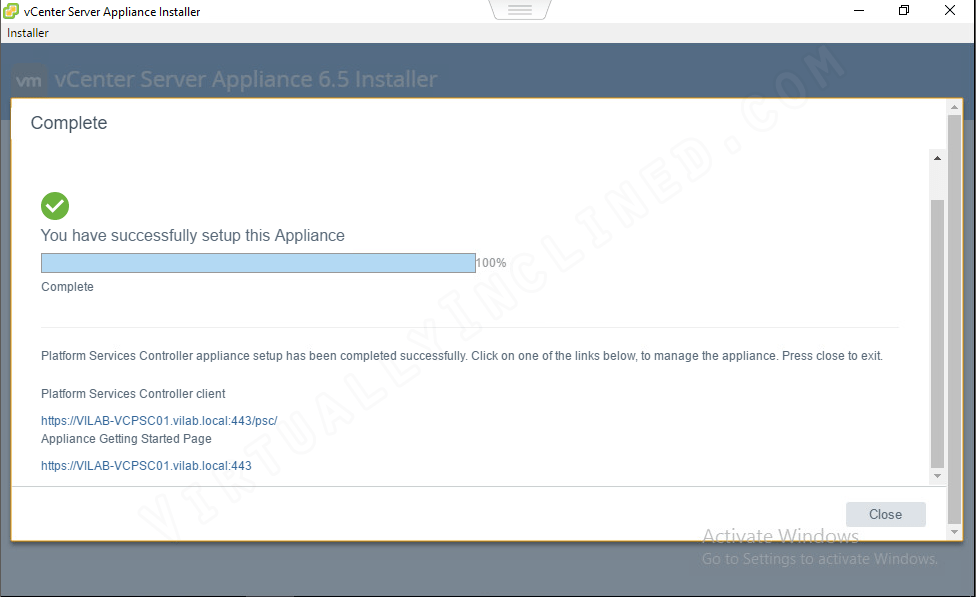
The VCSA PSC appliance has been deployed and configured successfully. You can click either of the links on the Complete page to manage the appliance. The first goes directly to the Platform Service Controller Client where you can set permissions, authentication and certificates directly on the appliance. The 2nd link takes you to the Getting Started page.
In Conclusion
We have deployed the VCSA PSC appliance. The first step in a multistep process to deploy vCenter using the VCSA appliances. In this article we walked through Stage 1 and laid out the basic configuration settings for the VCSA PSC appliance and deployed the appliance to one of our hosts. In Stage 2 we further configured the VCSA PSC appliance and initialized the appliance with the settings we chose.
Next up I will walk through fully configuring the VCSA PSC once it’s deployed. There’s more than just deploying the appliances. We still have to join the domain, configure time zone and add permissions. Thanks for reading!